How to Calculate Project Work Hours in Planfix
If your team bills or is paid by the hour, you need a way to calculate project work hours that does not end in a spreadsheet at the close of every month. The Time-Tracking: Working & Leisure Time solution turns the hours employees log into a cost figure, using rate directories, data tags inside tasks and ready-made reports. This two-minute video shows how time tracking in Planfix replaces manual payroll math.
What you’ll learn: how to calculate project work hours
- Which ready-made solution does the calculation, so you do not build it from scratch (0:18).
- How a directory stores the base hourly rate for each type of work (1:02).
- How employees record hours with a data tag inside the task (1:24).
- How the coefficients for time type and for each employee shape the final accrual (1:40).
- Where to read labor cost per project and per employee, in hours and in money.
How to calculate project work hours in Planfix, step by step
Step 1. Install the time-tracking solution
Install Time-Tracking: Working & Leisure Time, a ready-made solution available on any plan. After installation, switch to the Basic Workspace and activate the built-in Timer, so hours are captured while the work happens instead of recalled days later.
Step 2. Fill in the Type of work and Type of time directories
Go to the Directories section in the main menu and open the Type of work directory. Remove the sample entries, add the kinds of work your team performs and enter the base rate for one hour of each — just the number, without a currency symbol. One hour of programming and one hour of debugging can be priced differently. Group the entries so people pick the right one quickly, and extend the list as new work types appear. The fields are listed in the Help Center article on the Type of work directory.
Then open the Type of time directory, which separates working hours from non-working ones. New records are filled with Working time by default; add your own entries, such as work on holidays, for the cases you price differently.
Step 3. Set a personal rate for each employee
A personal rate raises or lowers the base rate for the work a particular person completes, on the assumption that an experienced employee delivers more in an hour than a beginner. Set it in the employee’s card: Employees → relevant employee → Edit → Custom Fields → Personal Rate.
Step 4. Record hours with the Actual Working Time data tag
When a piece of work is done, the employee adds the Actual Working Time data tag to the task. It holds the date, the hours worked (calculated automatically from the time interval), the time type, the type of work and the employee. Add it to the task the work belongs to — that is what gives reports their detail — and describe what was done in the action text. One task can carry several of these data tags, since work usually happens in phases: a break or a switch to another task closes the current record. A supervisor can enter hours for someone else by selecting that person in the employee field, and the internal Timer can add the tags automatically. See data tags in Planfix for the wider picture.
Step 5. Read labor cost in Time management reports
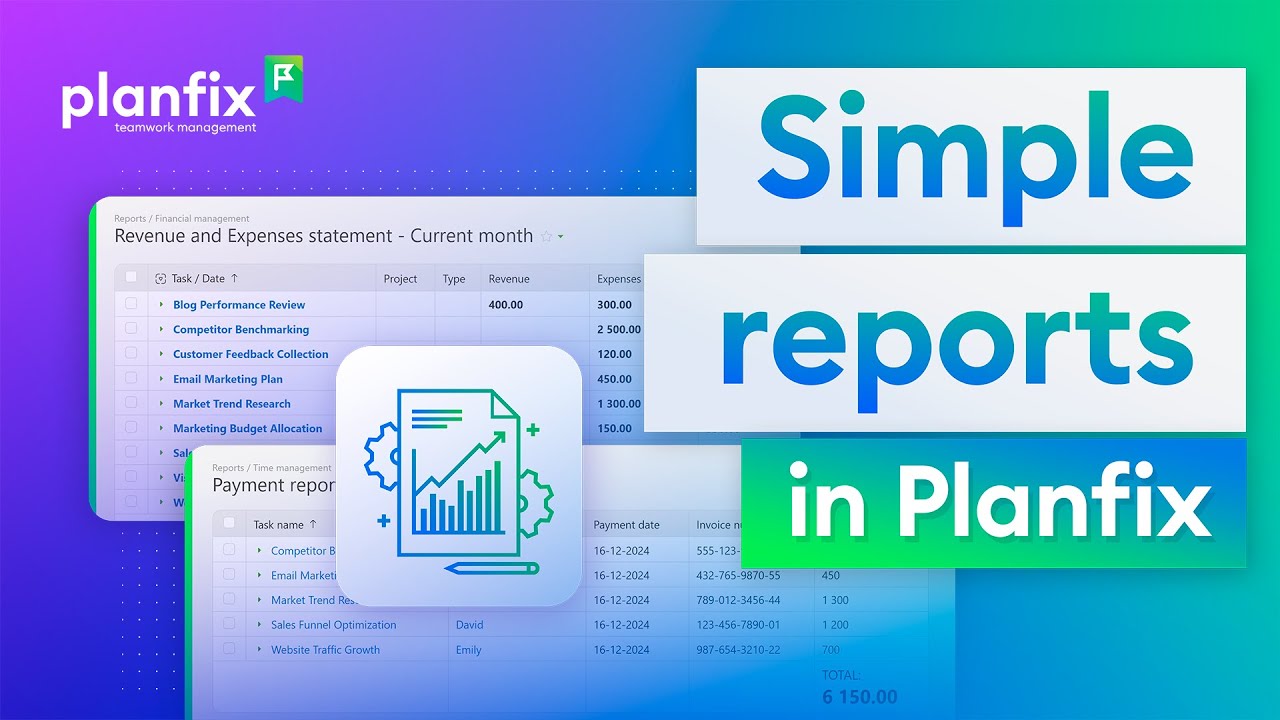
Reports in the Time management group show everything entered with the Actual Working Time data tags. Grouped by projects, a report gives the labor cost of a project over a selected period, both in hours and in currency. Grouped by employee, it shows each person’s working time and the cost of the tasks they completed. You can expand the comment on a piece of work without leaving the report, and you can modify the default report or build your own from the same data tags.
The formula behind the coefficients
The closing part of the video explains why four numbers take part in the calculation rather than one. The accrual for completed work is:
Accrual = duration of work (in hours) × hourly rate for the type of work × working time rate × employee personal rate.
Overtime, holiday work and seniority therefore fit into one calculation: the hours stay exactly as they were logged, and the rates do the adjusting. The guiding principles of the solution describe this logic in full.
Who it’s for
- Finance and management: labor cost per project and per period, in hours and in currency, without collecting timesheets by email.
- Project managers: the real hour count behind a delivered project, which is what makes the next estimate accurate.
- Team leads: who spent the week on which type of work, and where non-working hours appeared.
- Service and agency teams: billable hours per client task, priced by the type of work performed.
- HR and payroll: wage accruals for hourly staff, built from records the employees entered themselves.
FAQ
How do you calculate project work hours?
Log each piece of work as an Actual Working Time data tag in the task it belongs to, then open a report from the Time management group grouped by projects for the period you need. The report totals the hours and converts them into cost using the rates from your directories.
Can Planfix apply different rates for overtime and holiday work?
Yes. The Type of time directory holds entries such as non-working time or work on holidays, and the working time rate multiplies the base hourly rate of the work type. When an employee works outside working hours, edit the time type in the data tag.
Can someone else enter the hours an employee worked?
Yes. A supervisor or another employee can add the Actual Working Time data tag and select the person who did the work in the employee field.
Start with one week of hours
Pick one project, have its team log a week of work with the Actual Working Time data tag and open the report: the hours and the cost will already be there. From the same records you can build further views with reports in Planfix, or extend the approach to money spent, as in time and expense tracking with data tags. New to Planfix? Sign up to try it.