Workgroups
To make work in Planfix more convenient, you can bring employees together in various workgroups, for different departments or teams. These groups can be assigned different roles in tasks and projects, and they can be given access to contacts, directories, and other pieces of information.
You can view all existing workgroups in a list in the Company section. In the Workgroups tab, you can create new groups, edit existing ones, and set rules for tasks from emails for workgroups.
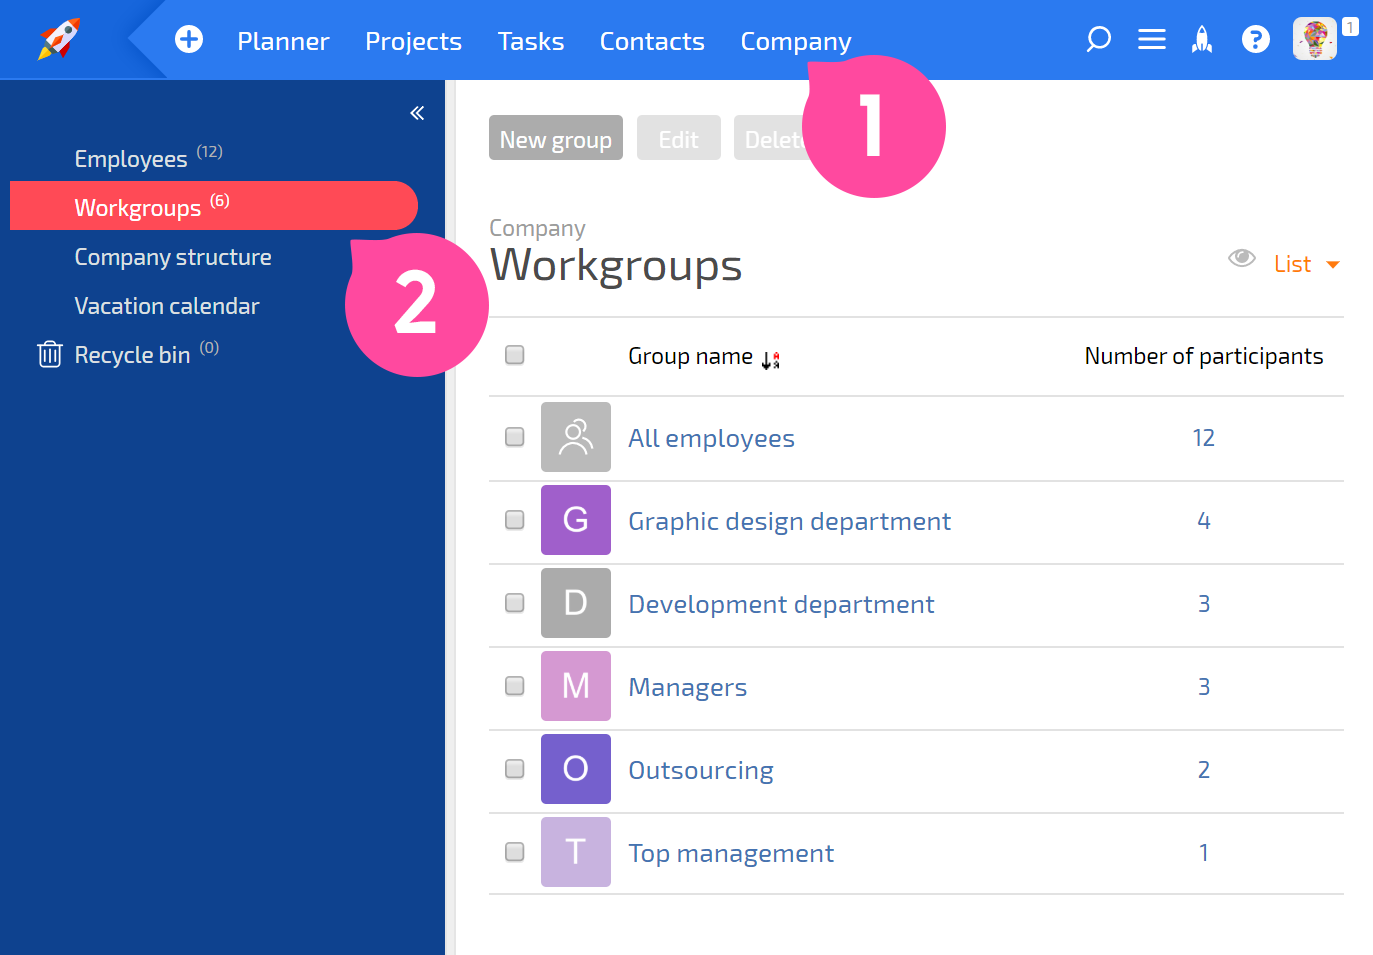
By default, there is only one group in Planfix: All employees. This is a system group; it cannot be deleted or renamed. All newly created employees are automatically added to this group.
Creating workgroups
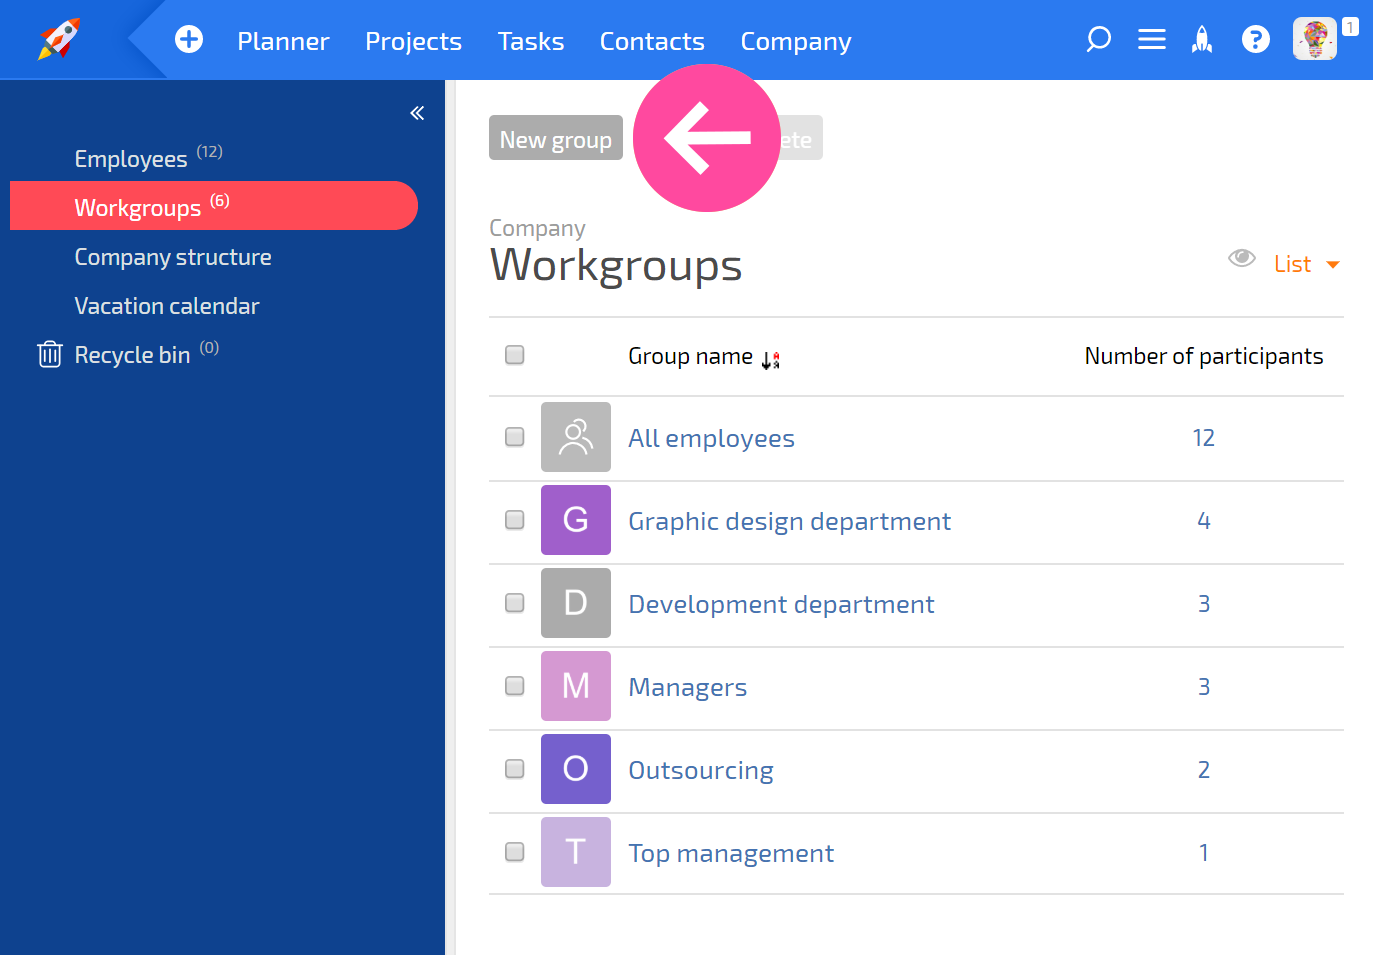
To create a new workgroup, click the New group button:
In the window that opens, give your new group a name. You can also assign the group an avatar and select which users will be in it from a list of company employees:
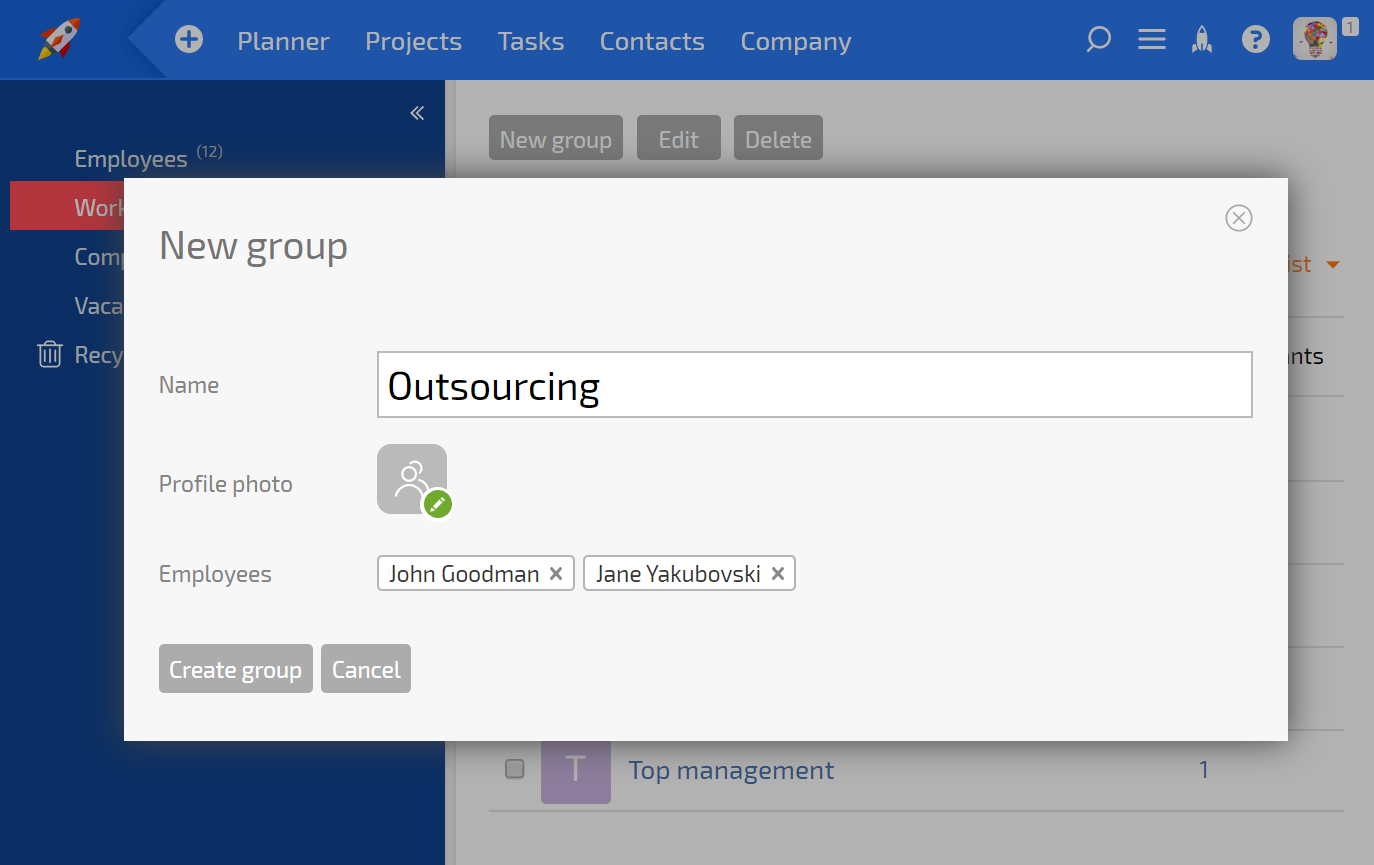
Once you have clicked the Create group button, the group will appear in the list of workgroups.
Adding employees to a group
There are several ways to add employees to a workgroup:
1. When creating a new group (see above) or editing an existing group.
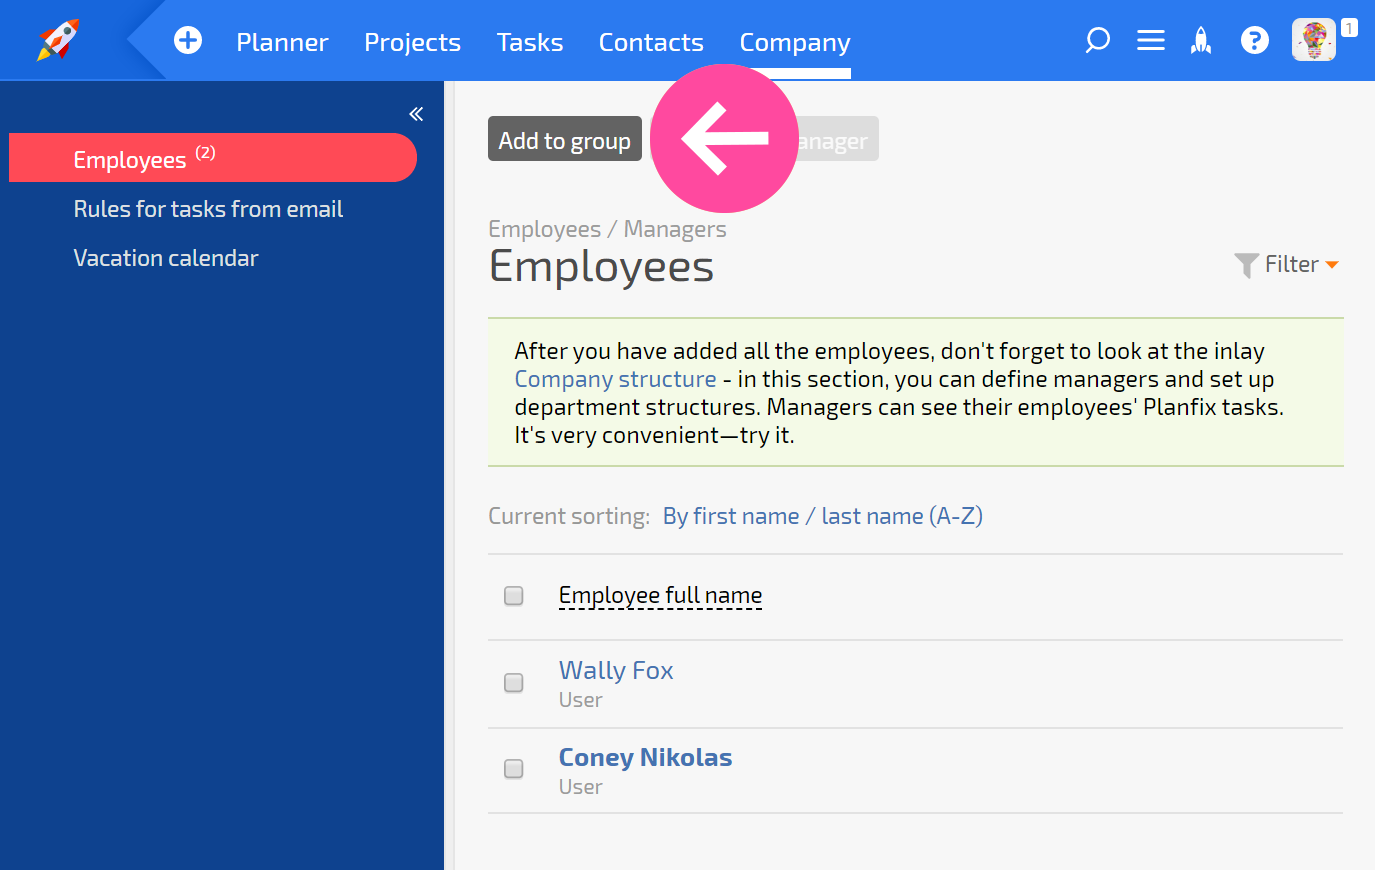
2. Adding to an existing group by going to the group and clicking the Add to group button:
3. in Company structure
Operations with employees of a group
You can select one or more employees of a group and perform a standard operation on them:
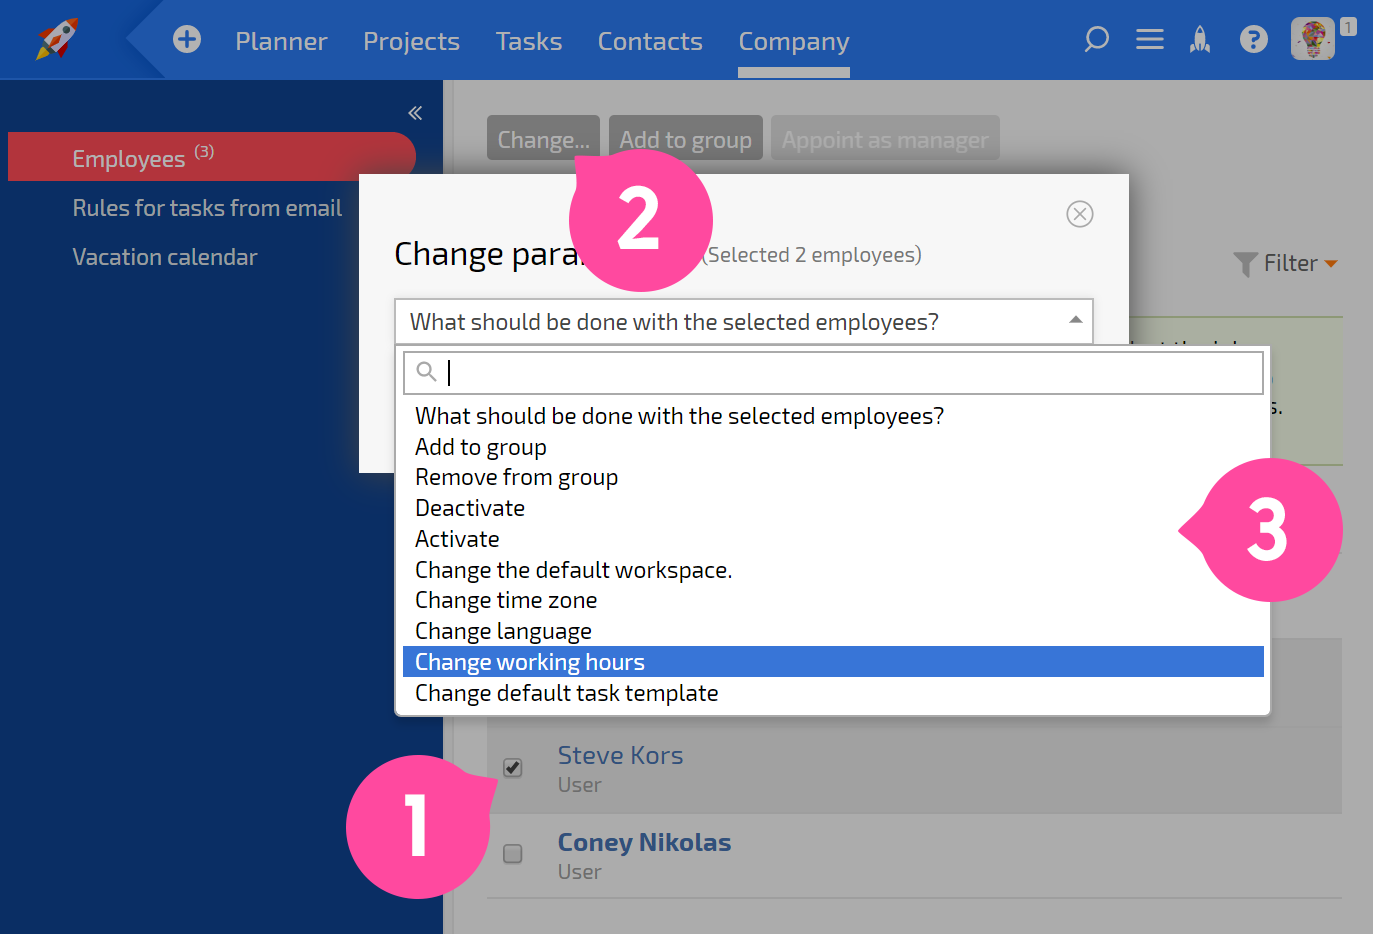
Deleting workgroups
You can delete one or more groups by selecting them in the list and clicking Delete:
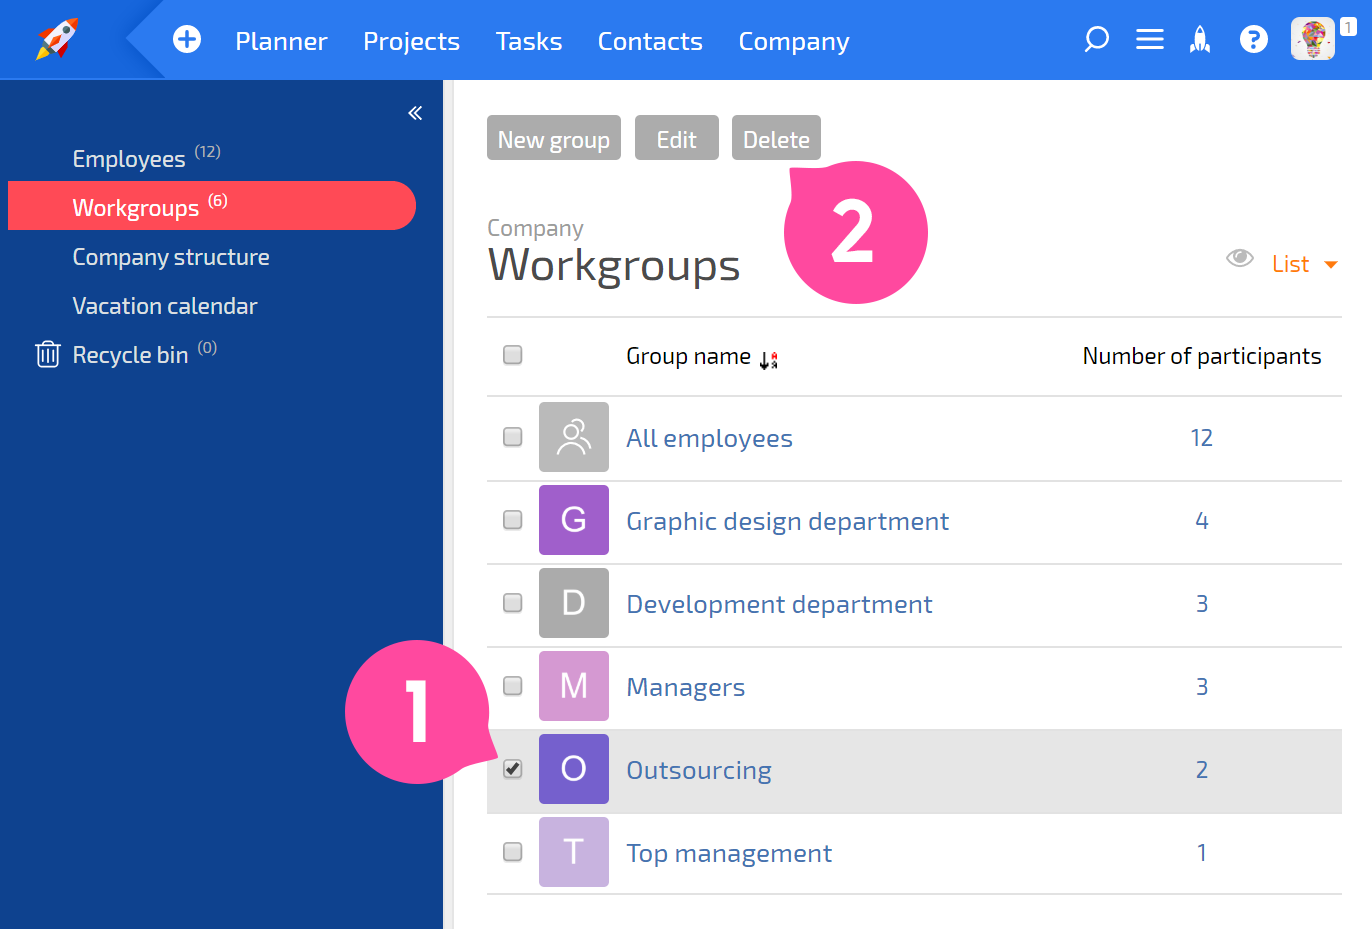 The employees who were in the deleted groups will automatically be excluded from tasks and projects where the group was connected.
