Using hourly blocks
In a planner hourly block, data tags that contain "Date" and "Time period" fields can be displayed (a data tag must have both of these fields). This provides flexible use of the hourly block, both for adding data tags of a desired type to a task and for displaying tasks.
Let's take a look at some examples of working with the hourly block using a standard data tag, Planned working time.
Drag a task to the hourly block
If you drag a task from a list or task calendar to the hourly block, the type of data tag set in the hourly block will be added to the task. The task block is also displayed in the hourly block:
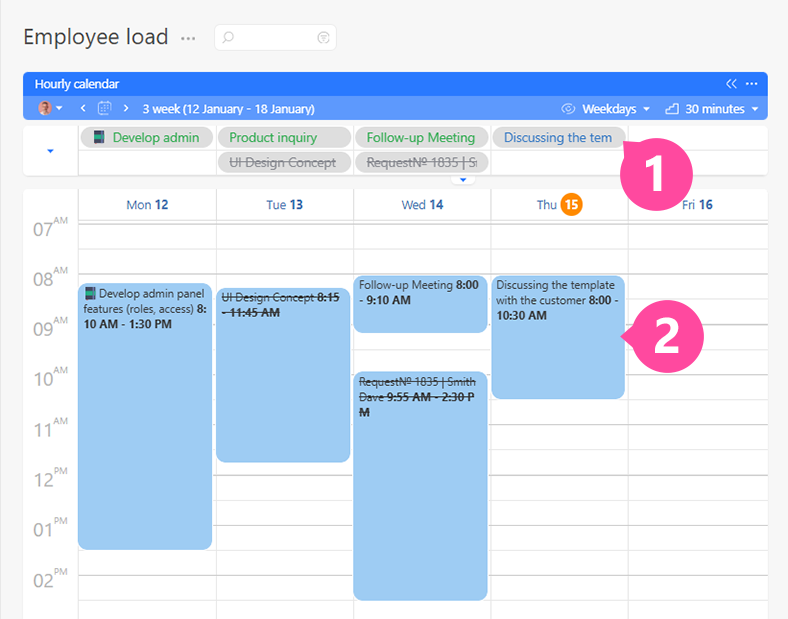
This block can be expanded and moved, changing the values in the "Time period" field of the corresponding data tag. In our example, we're using the Planned working time data tag, so the size of the block corresponds to the amount of time planned for working on the task.
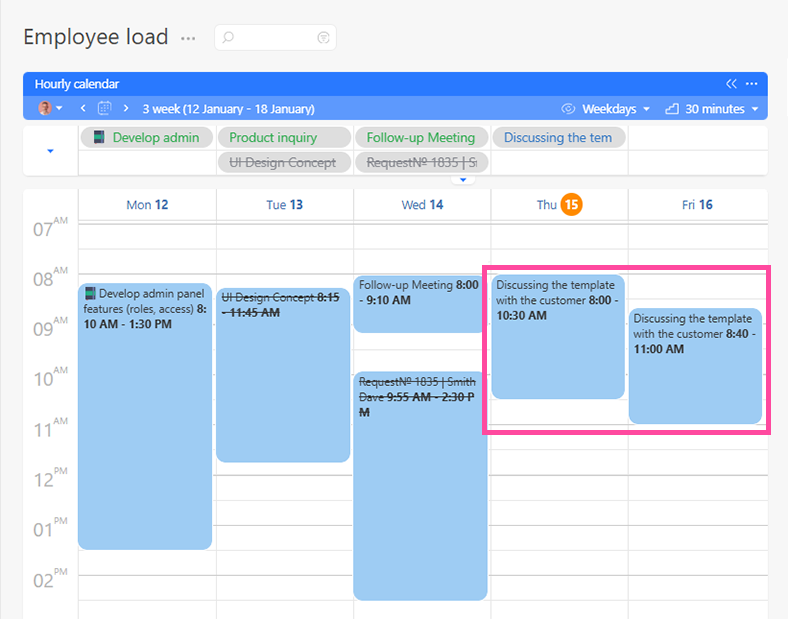
A task can be dragged to the hourly block multiple times, each time creating a new entry with the data tag and taking a slot in the hourly block:
Create a task by clicking on the hourly block
There's a "reverse" example of how to use the hourly block: if you click on it and drag the new box to take up however much time you want, Planfix will create a task that automatically has the desired data tag attached:
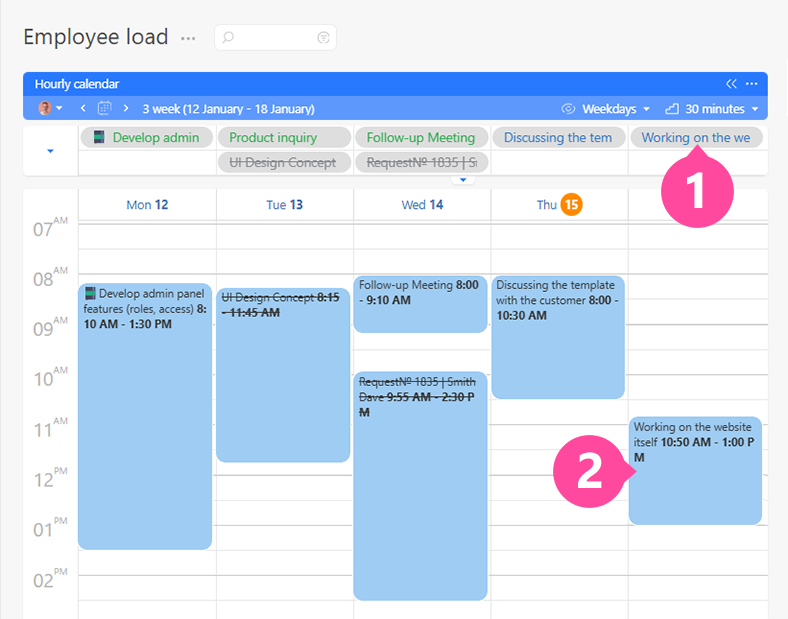
This is a convenient way to quickly create a task for a specific period, such as a meeting or task.
Important
- If there is more than one data tag displayed in the hourly block, the data tag listed first will be added to the task created.