Table
From Planfix
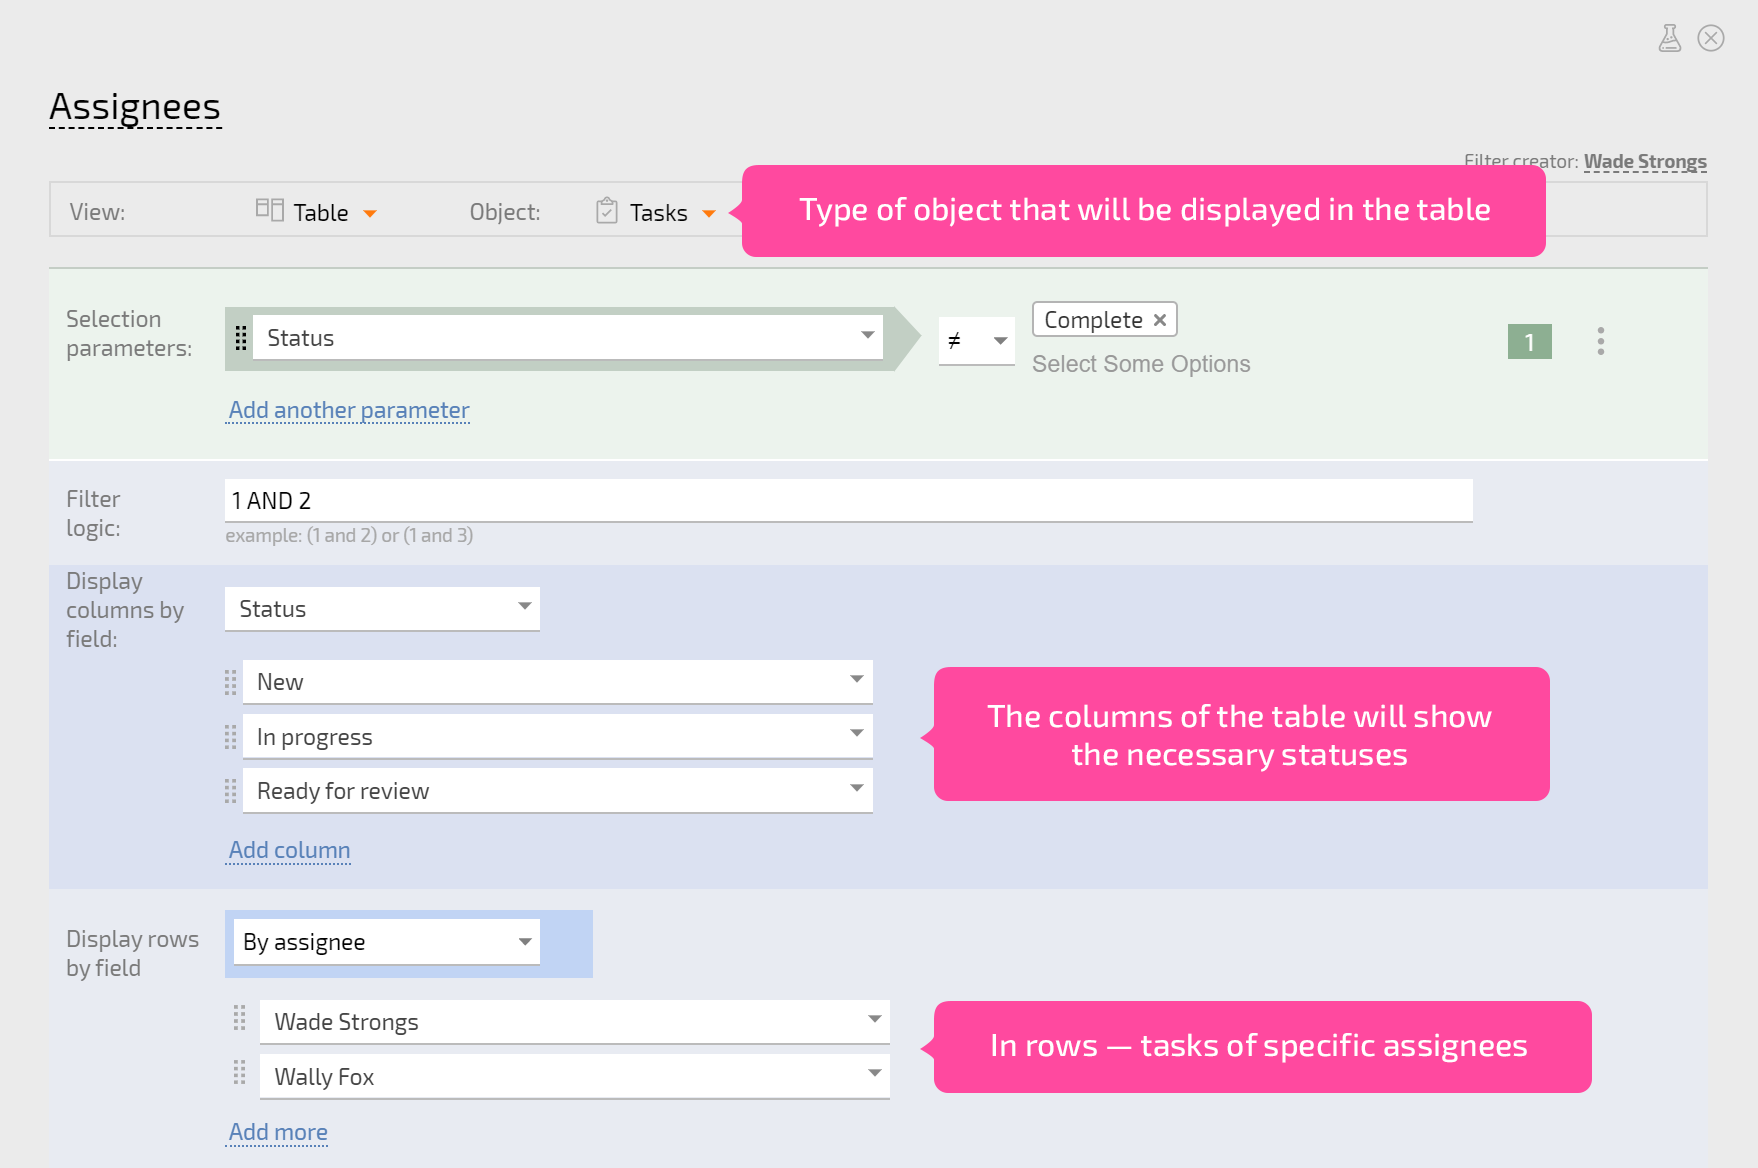
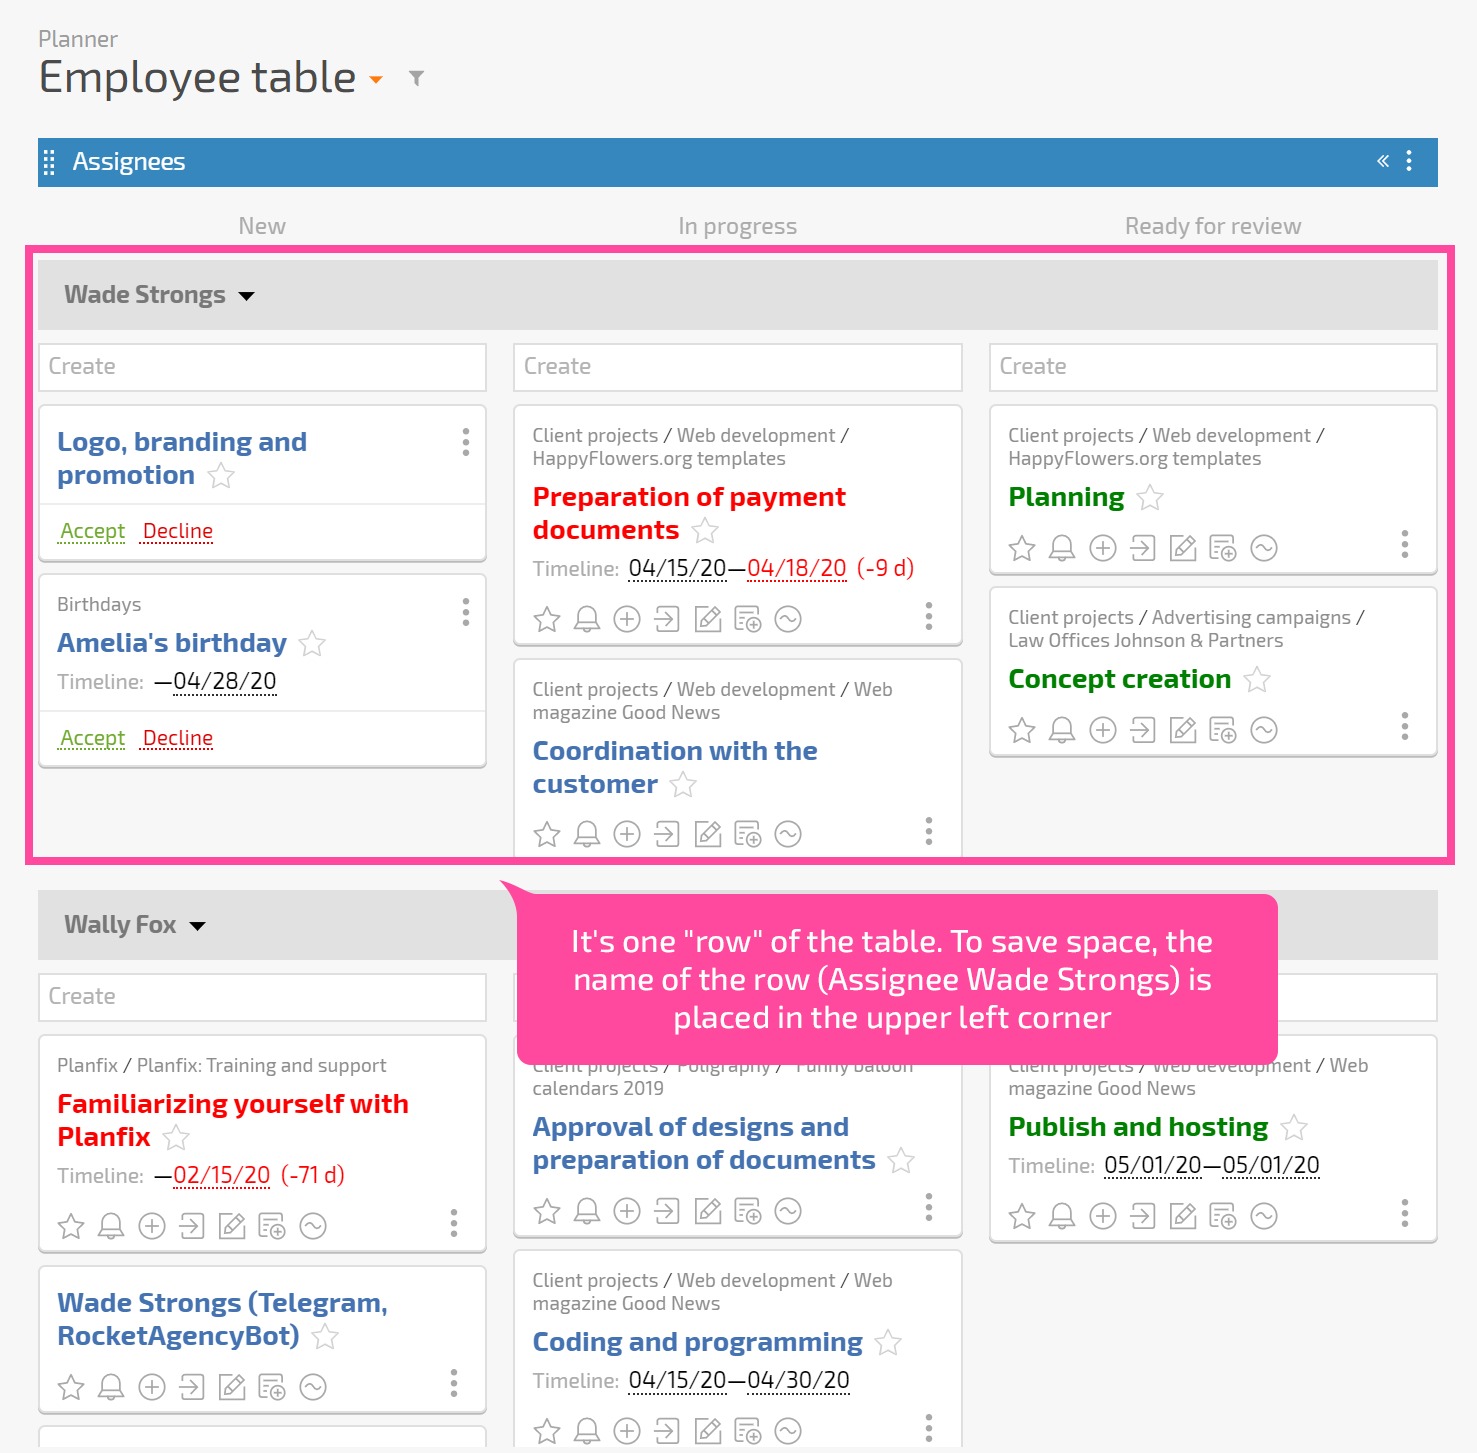
Choosing Table as the Planner list display type will display tasks and contacts as a table. You can also select which fields to display data from in the table's rows and columns:

Like with other list views, tasks are selected based on the parameters specified and are displayed according to the grouping and sorting set for the given rows and columns:

Additional settings for the "Table" list view
In addition to settings specific for this type of list, the following standard settings are also available:
- Type of objects displayed in a list
- Object selection parameters
- Calendar grid settings (where applicable)
- Google Contacts sync block (if there are contacts displayed in the table)
- List heading color
- Open in new tab setting
- Hide field for creating new objects setting
- Automatically collapse empty lists setting
- Task/contact card display
- Show totals section setting
Features of the Table display view
- Specific values must be listed for both rows and columns. This means that you can't just indicate "By assignee" — you need to indicate which specific assignees you want to see.
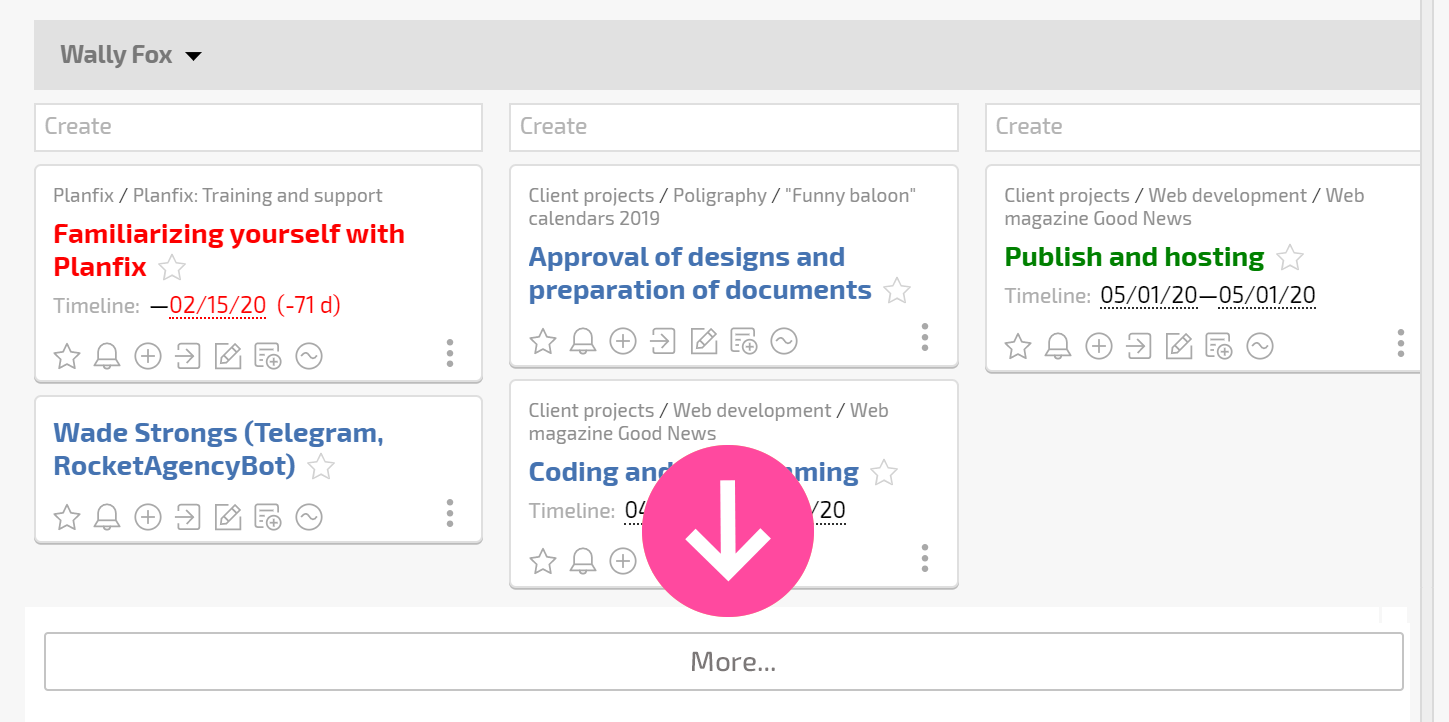
- Up to 50 tasks will be loaded into each row, and if there are no rows, then there can be up to 150 tasks in a Table. If more tasks meet the filter conditions, you can load them in sections by clicking on the button below the list:

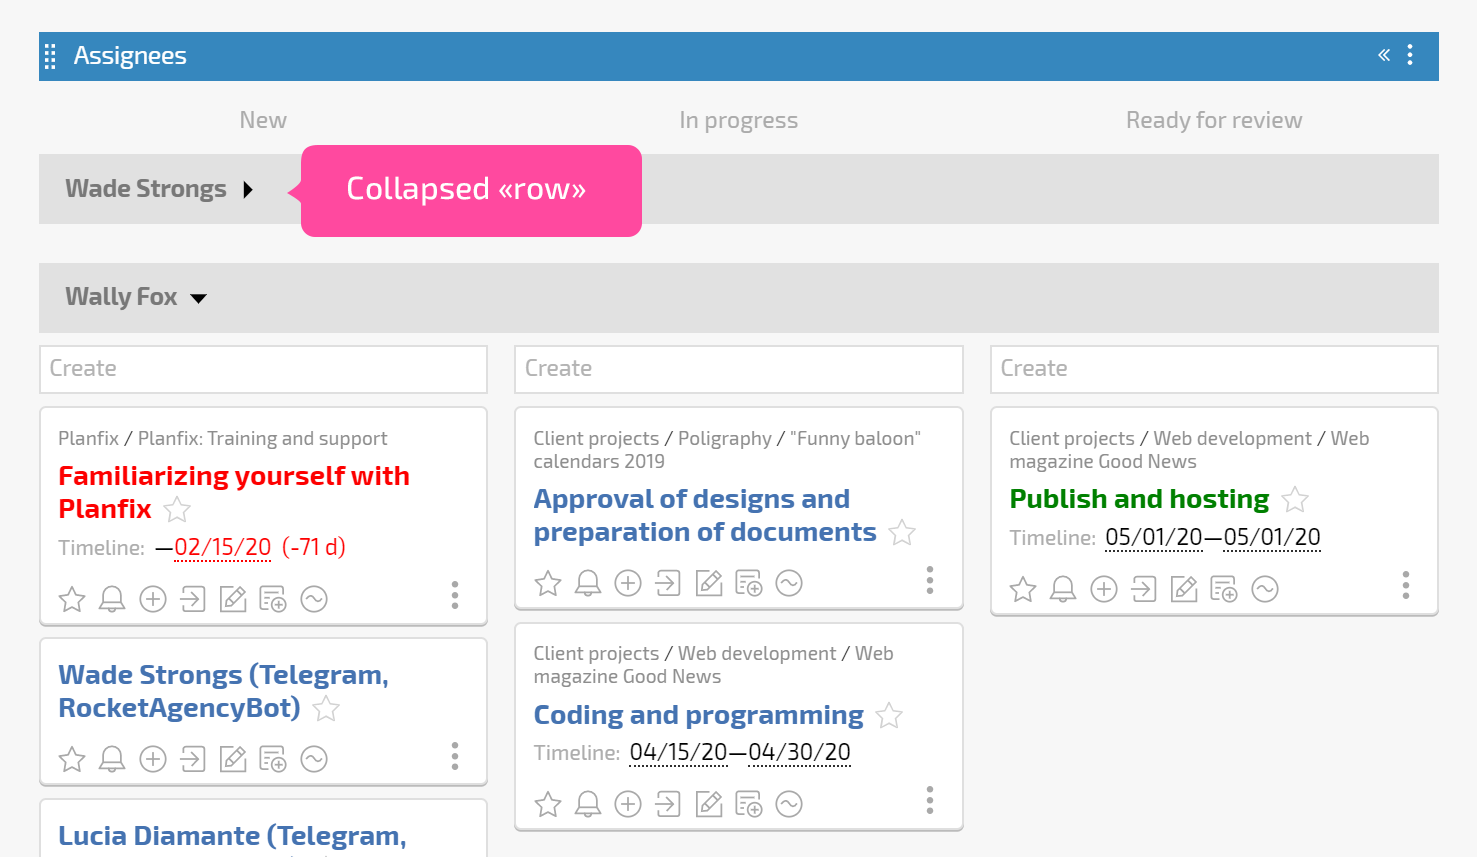
Grouped rows can be collapsed:

You can drag and drop within a Table, with the same general rules as within a Planner — a task takes on the settings of the "cell" it's dropped into. You can move tasks within a Table or to other lists in the same planner.
Important
- The Table view is intended for relatively small numbers of tasks (50 of fewer per row of the table). If there are more than 50 tasks, the table will move slowly. It may seem like there are no tasks in columns, when in fact they just haven't loaded.
- The selection parameters for this planner list also affect the parameters of tasks and contacts created in it using the quick or advanced method.
