Planner list testing mode
With the Testing Mode for Planner lists, you can check whether a task or contact will be displayed in the list and, if not, determine the reason for this.
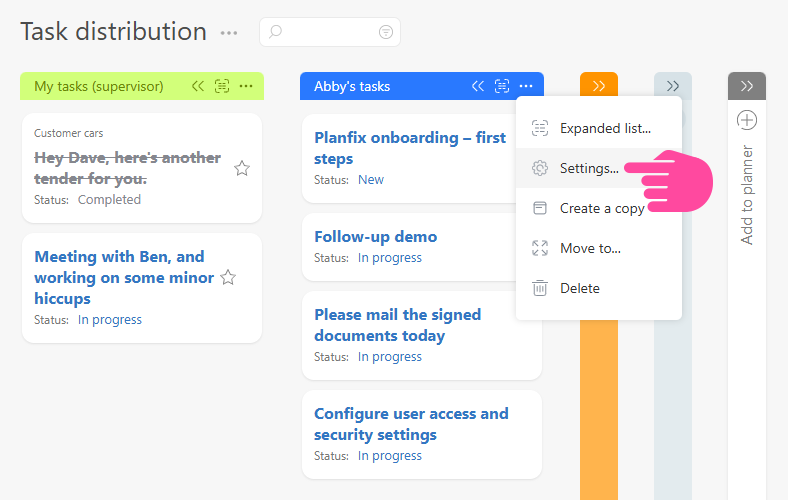
To open the testing mode, go to the editing window of the desired task list:
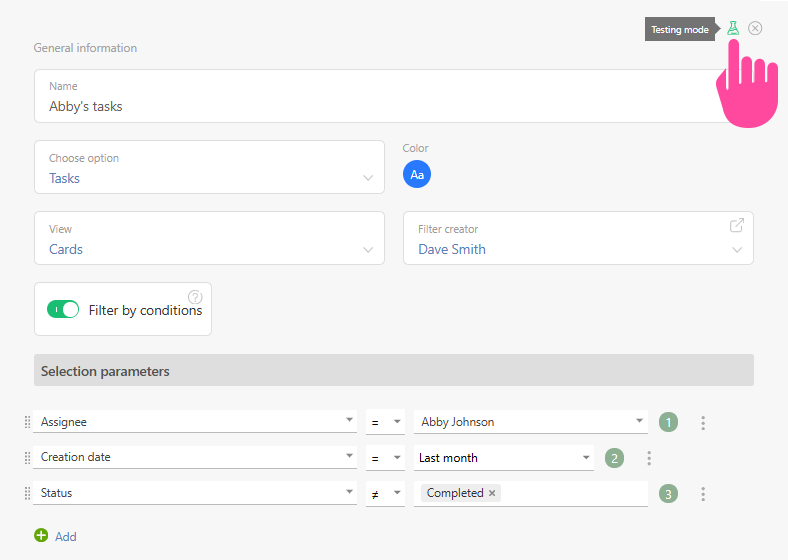
Click on the flask icon to activate testing mode:
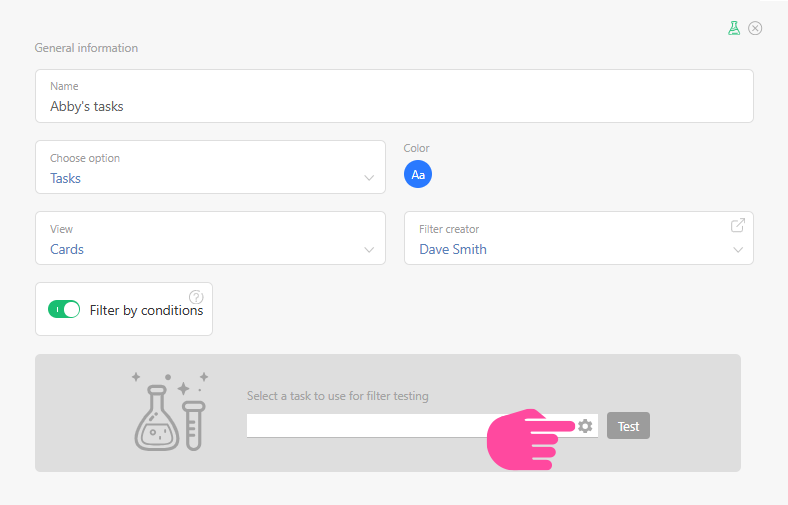
As with testing filters and scripts, you can select a specific object for testing after activating test mode:
Once you have selected an object and started the test, planfix will outline each condition in green or red. A green outline means that the condition is met for the object you selected, while a red outline implies that it is not met:
Parameters for object selection
The testing mode in the Selection parameters block works the same way as the test mode of the task and contact filters.
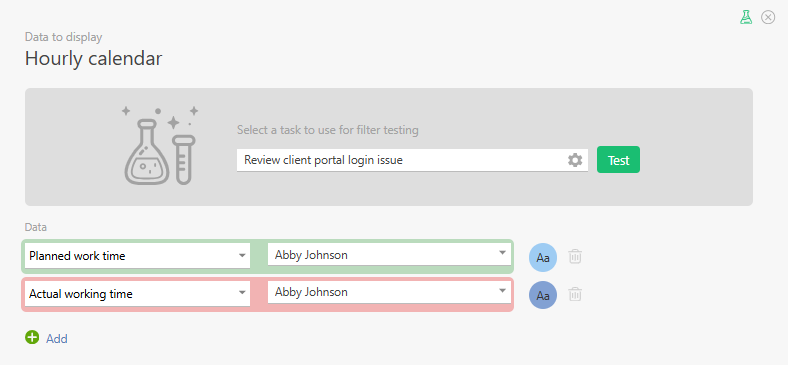
Testing data tags
In hourly calendar lists, the selected employee's specific data tag is also tested in the tested object. The following example shows that the tested task contains the Planned working time data tag (green frame), but the Actual working time data tag (red frame) is missing for the selected employee:
How testing mode is used
- To test how objects are selected for a list, use the same steps as for testing mode for task and contact filters.
- For Hourly calendar lists, the testing mode also lets you ensure that the data tags displayed in the hourly calendar exist in the object you're testing.