Planner list testing mode: Difference between revisions
No edit summary |
No edit summary |
||
| Line 28: | Line 28: | ||
*[[Testing mode]] | *[[Testing mode]] | ||
*[[Scripts]] | *[[Scripts]] | ||
*[[ | *[[Planner]] | ||
*[[Account Management]] | *[[Account Management]] | ||
*[[Feature Description]] | *[[Feature Description]] | ||
Revision as of 00:59, 20 April 2020
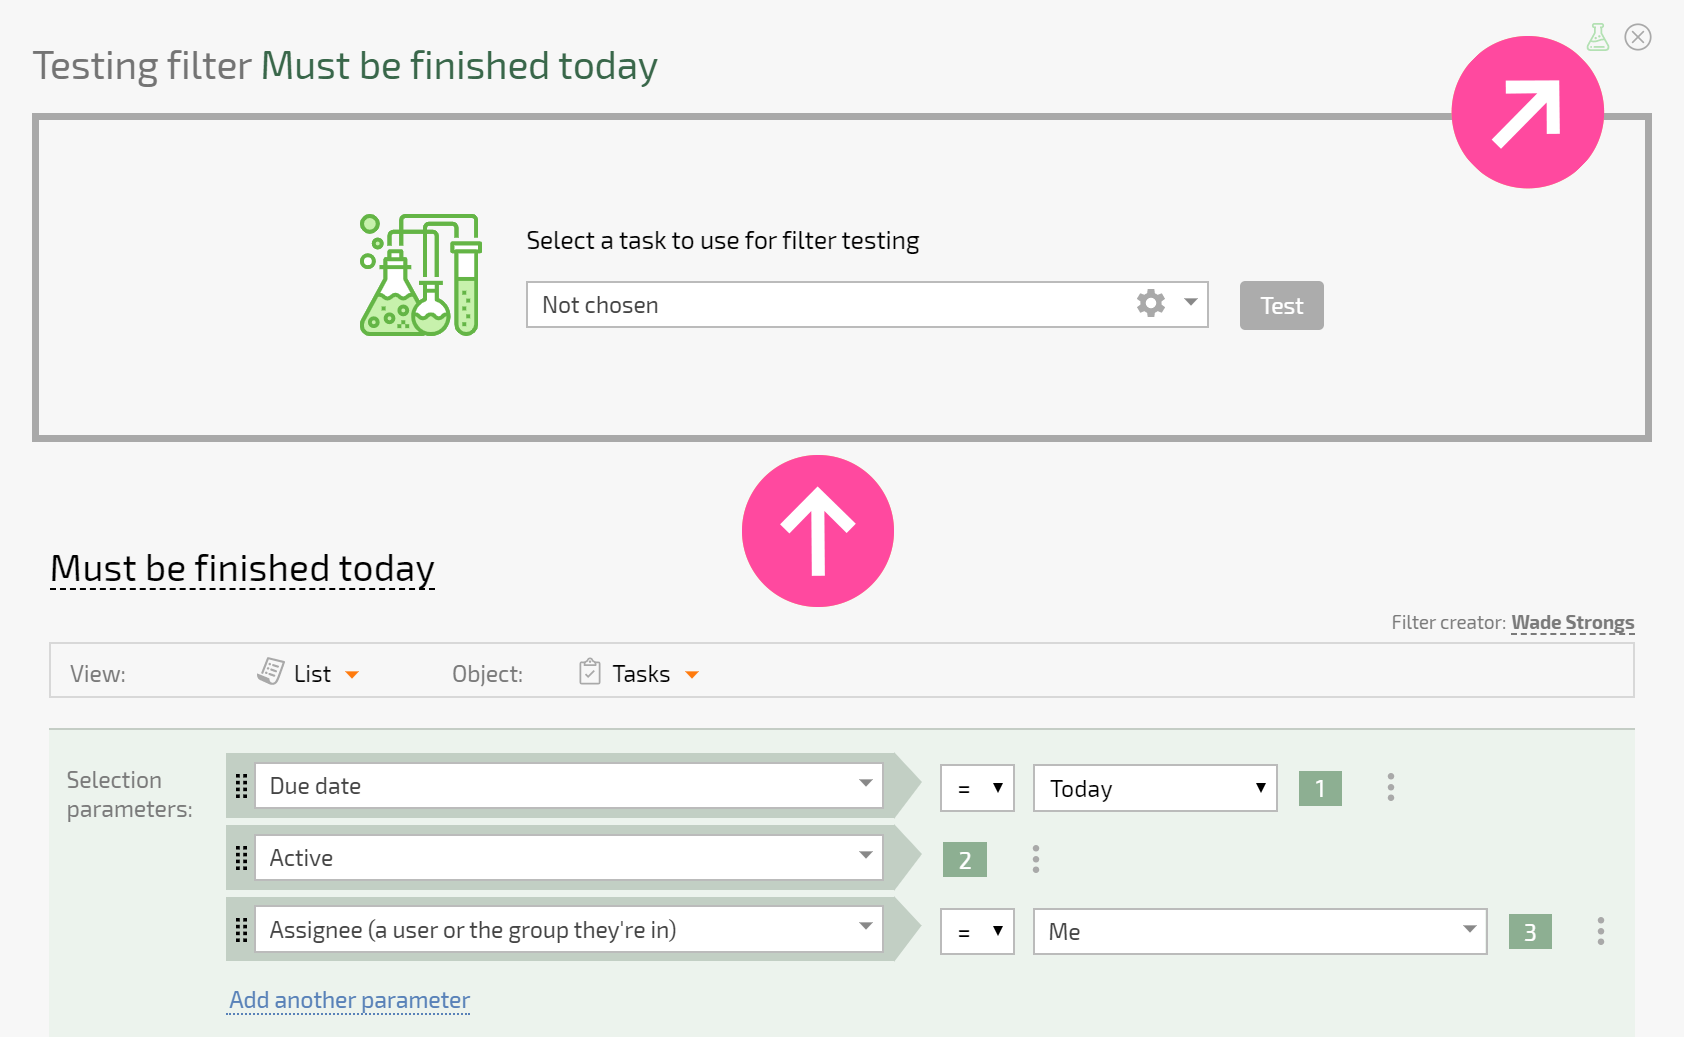
Planner list testing mode lets you test whether or not a task or contact will be displayed in a list. If it isn't displayed, you can figure out why. Like with testing filters and scripts, once you have activated testing mode, you will be able to select a specific object to test at the top of the list settings window:

Once you have selected an object and started testing, you will see a flask with a green or red background associated with each condition. The green background means that the condition is met for the object you selected; red means it's not.
Selection parameters
Testing in the Selection parameters block works just like testing mode for task and contact filters.
Testing data tag data
In Hourly calendar lists, you can also test whether or not a certain type of data tag exists for a selected employee in a selected object. The example below shows that in the task selected for testing, the Planned working time data tag (the flask with the green background) exists for the selected employee, but the Actual working time data tag is missing (the flask with the red background):

How testing mode is used
- To test how objects are selected for a list, use the same steps as for testing mode for task and contact filters.
- For Hourly calendar lists, the testing mode also lets you ensure that the data tags displayed in the hourly calendar exist in the object you're testing.
