Timer: Difference between revisions
No edit summary |
No edit summary |
||
| Line 5: | Line 5: | ||
|description= Timer | |description= Timer | ||
}} | }} | ||
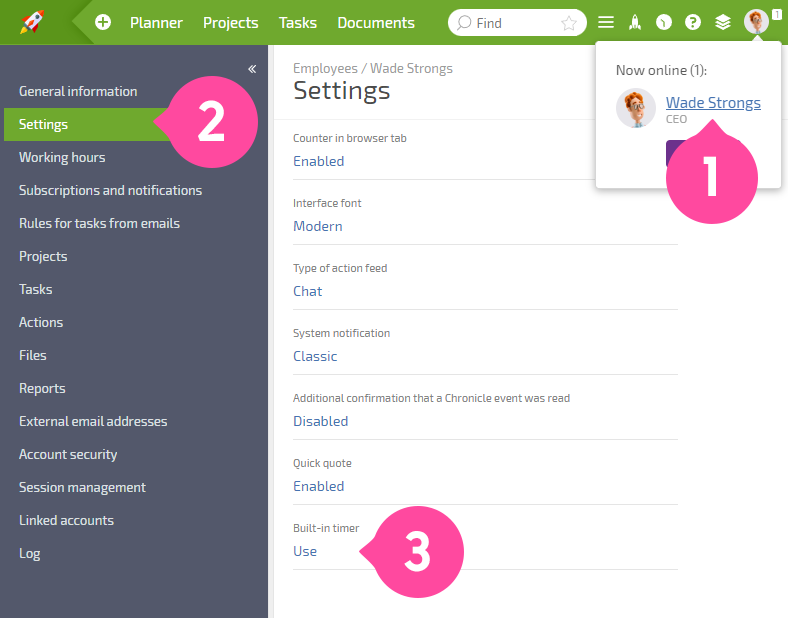
The timer can be used to quickly track time spent on tasks."It is available in the[[Timer in the Mobile App|mobile app]] mobile app as well All employees must enable the timer for themselves in Planfix. The following setting is available in employee cards: | The timer can be used to quickly track time spent on tasks."It is available in the [[Timer in the Mobile App|mobile app]] mobile app as well All employees must enable the timer for themselves in Planfix. The following setting is available in employee cards: | ||
https://s.pfx.so/pf/HY/s7uOHj.png | https://s.pfx.so/pf/HY/s7uOHj.png | ||
Revision as of 14:18, 3 October 2023
The timer can be used to quickly track time spent on tasks."It is available in the mobile app mobile app as well All employees must enable the timer for themselves in Planfix. The following setting is available in employee cards:
Here's how the timer looks in the interface:
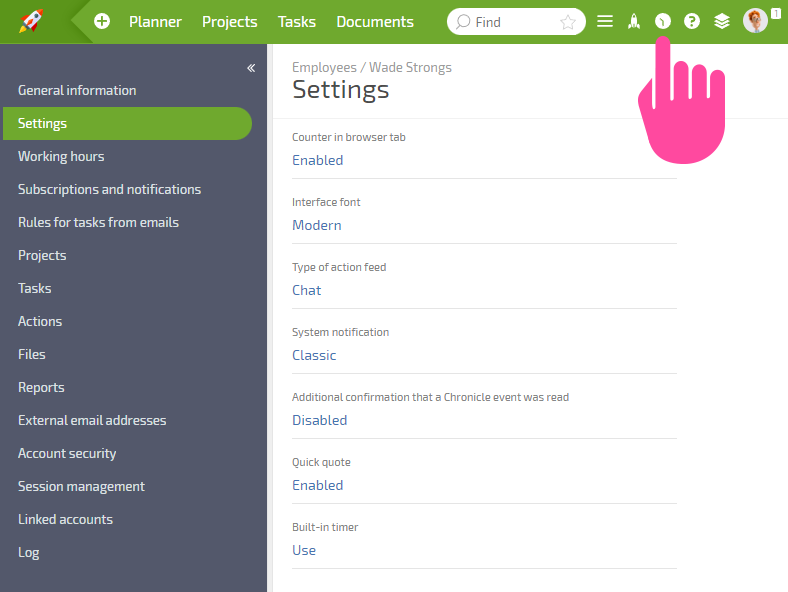
How the timer is used
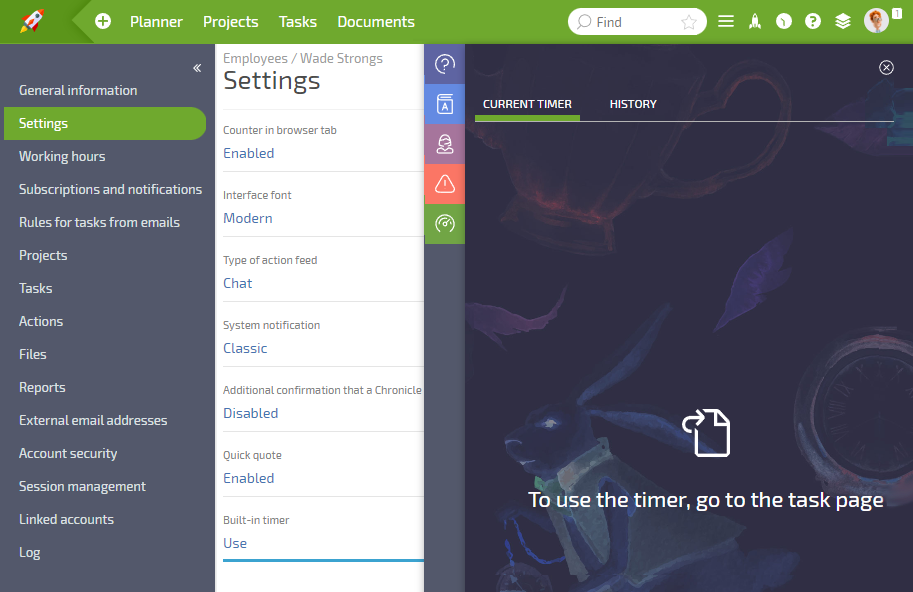
Before using the timer, install the Time Tracking configuration from the catalog. Then click the timer icon in the Planfix interface, which will open this panel:
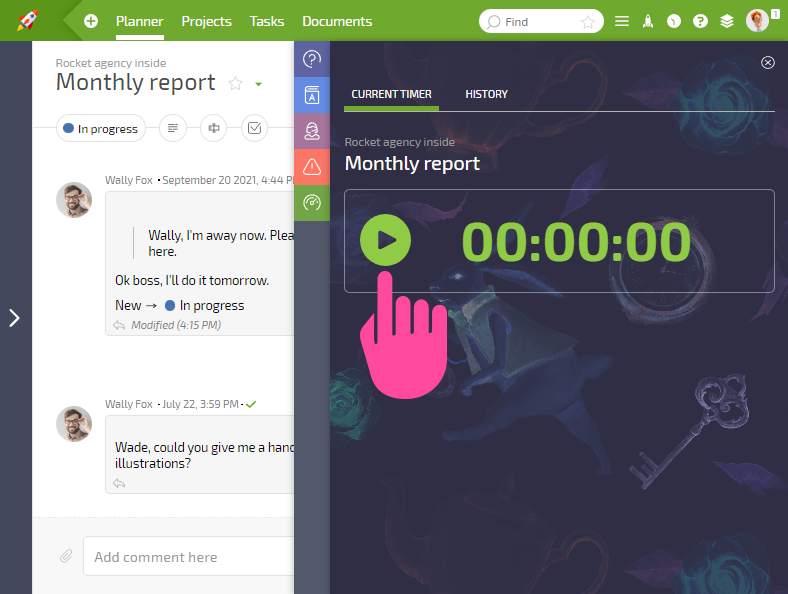
Then open a task and start the timer:
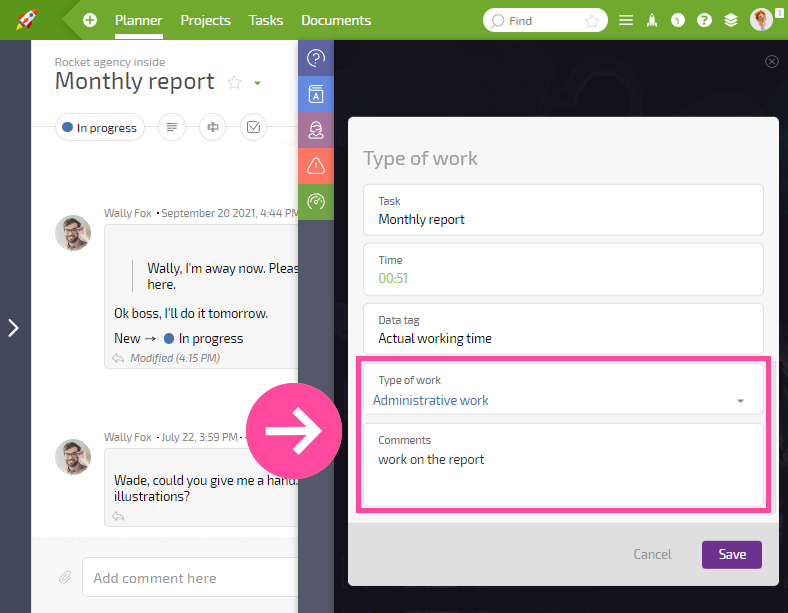
If you click the button to stop the timer, a window will open for adding a data tag. The first three items in the window can't be modified. Then you can specify the type of work and write a comment about what you did:
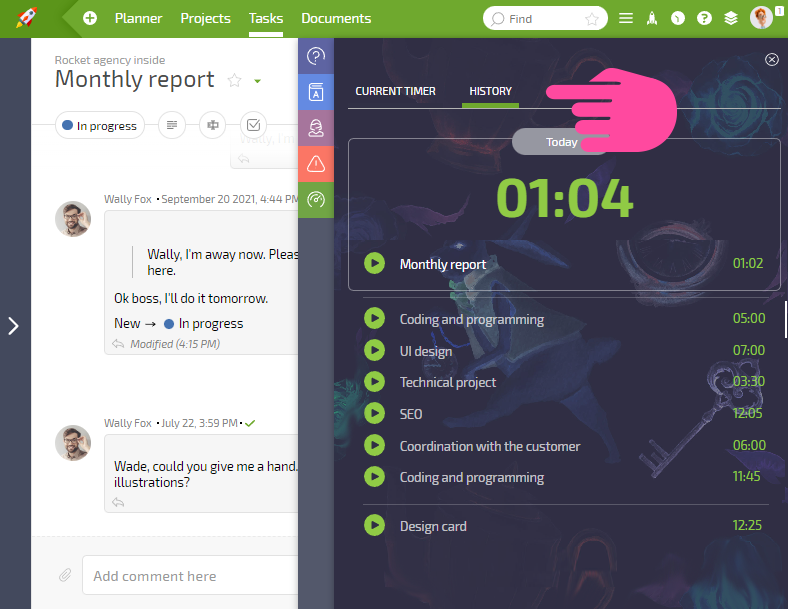
Save the data tag. All saved data tags get sent to the History section:
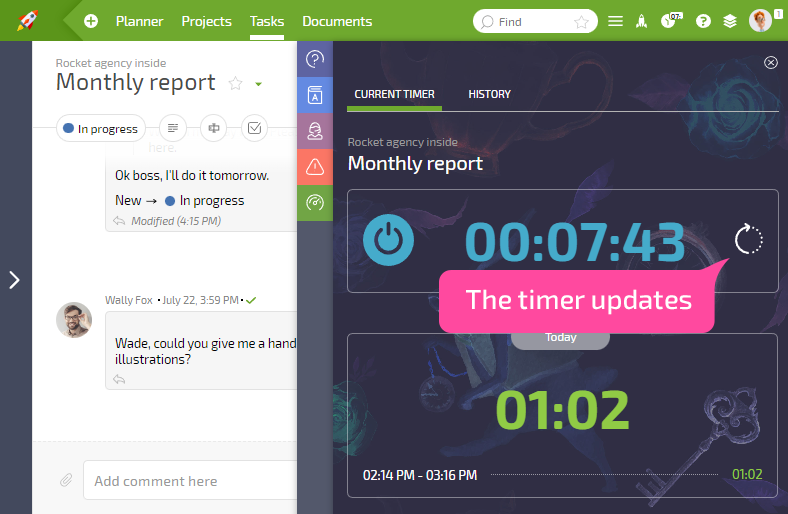
Use this button to stop the timer without recording a data tag:
Important
Identical data tags added the same day are merged into one entry in the history section, with the times combined. This is done for convenience, to keep the history from getting cluttered.
