Zadarma
From Planfix
How to set up the integration with Zadarma virtual PBX:
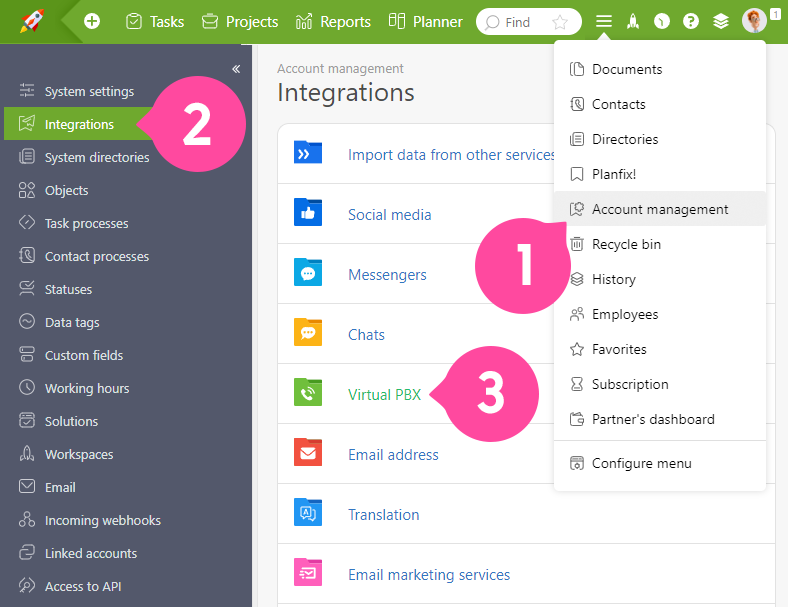
- Go to the Account Management — Integrations section (accessible to the account owner or administrator) — Virtual PBX:
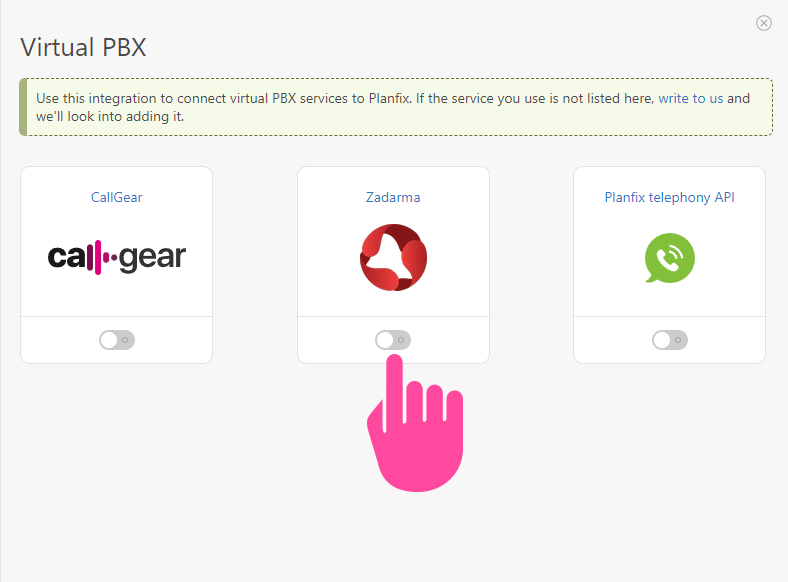
- Activate the integration:
- In your personal Zadarma account, go to Settings — Integrations and API.
- Go to the Keys and API tab and click the Create key button. An email will be sent to the email address you provided during registration. Confirm your actions in it, and the keys will be created automatically. Copy them.
- Next, select Planfix on the Integrations tab and activate the integration by pressing the Enable button.
- Check the correctness of the API connection keys.
- In the next step, add the link for the receiving script. Copy the link from the integration settings in Planfix:

- Save the settings in Zadarma.
- Then complete the integration settings on the Planfix side:
- Add the API key and the secret key you received by email.
- Add the short numbers of the employees.
- Configure other necessary parameters.
- Save the integration settings in Planfix.
Important
For correct operation of virtual PBX with Planfix, check the following settings in your personal Zadarma account:
- Internal numbers from 1 to 50 have been created (one internal number for each employee).
- Call recording is enabled in the internal number settings (call recording in the cloud).
- A default script for incoming calls "without pressing" is created in the "My PBX" — "Incoming calls and voice menu" section.