Whiteboard
From Planfix
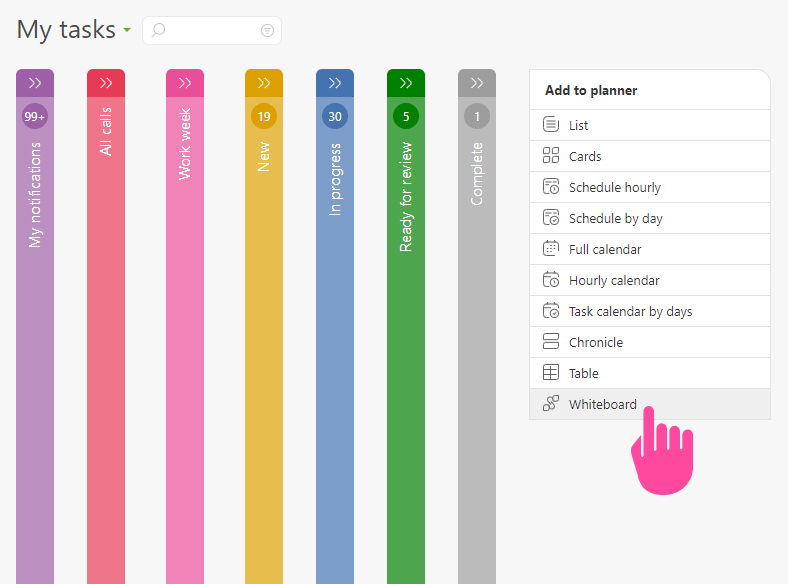
The whiteboard is a list view of the planner that allows you to add blocks or tasks to a board and make the necessary connections between them to plan and implement business ideas visually. It's not just a "drawing" of charts but a part of Planfix that is directly connected to tasks:
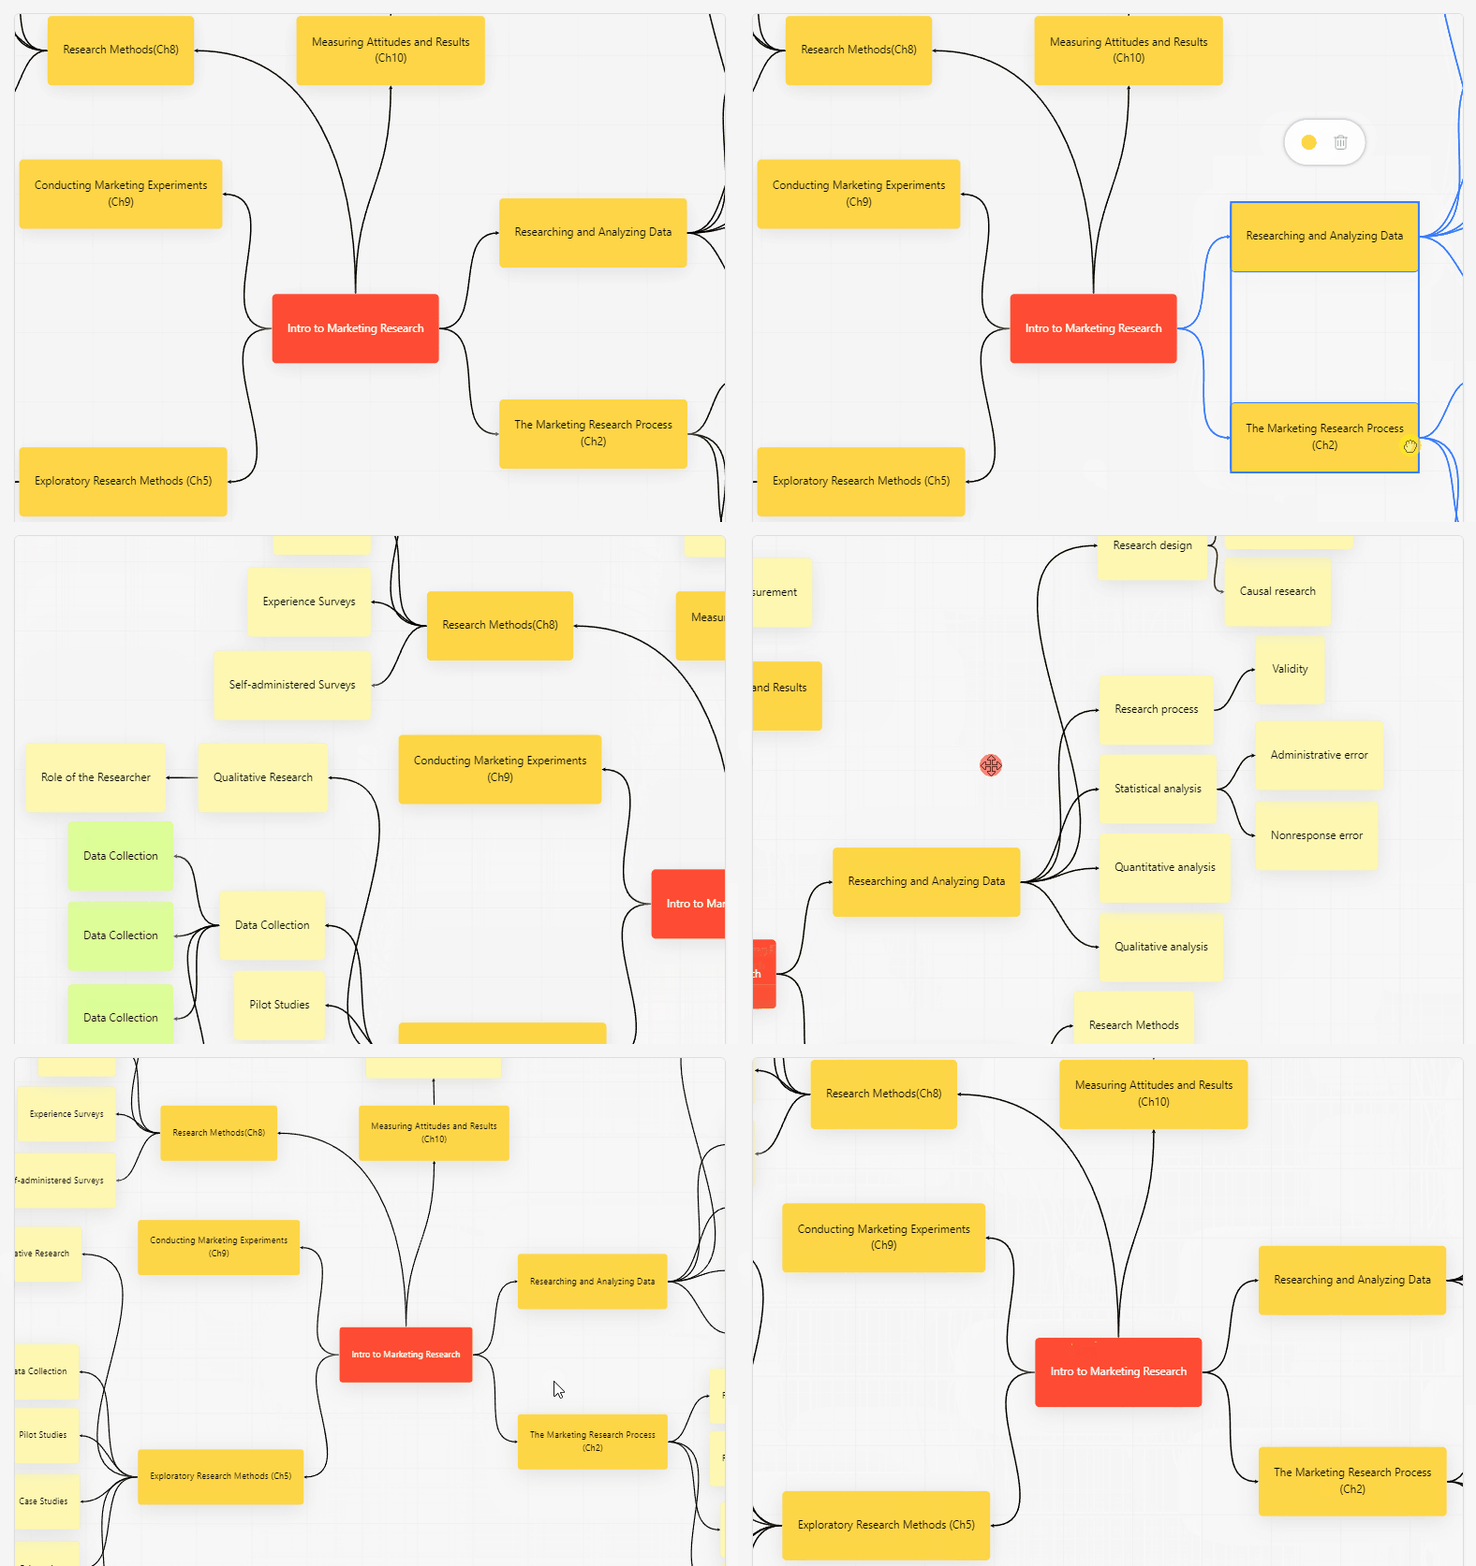
The connections between tasks "live" only within a single whiteboard. This means you can drag and drop the same tasks from the planner list onto different maps, connecting them differently on each map.
Adding a block and creating a task
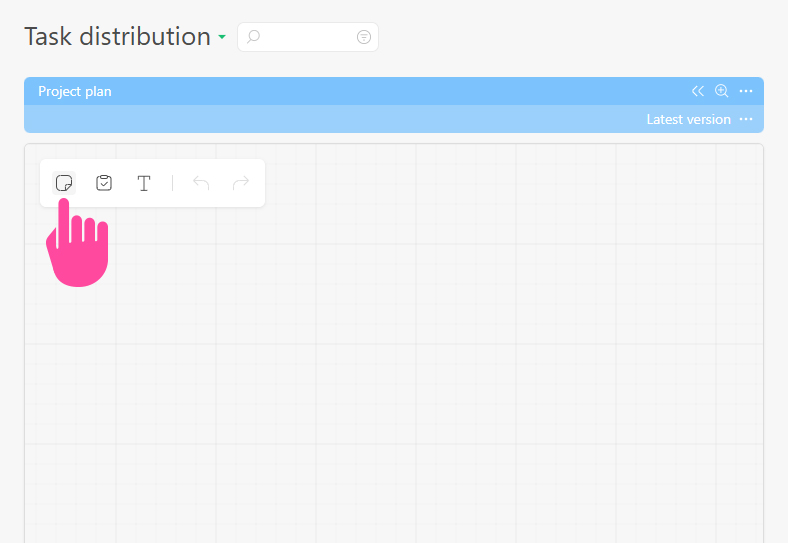
- Click the plus sign to add a new block:
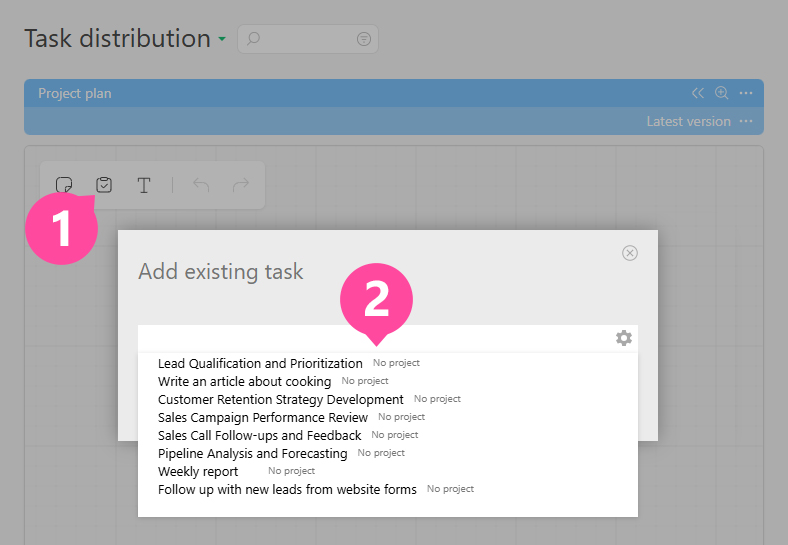
- Or click on the existing tasks icon to select the desired task from the list:
Controls
- Double-click on a block to change the title.
- Scroll the mouse wheel up-down to zoom in and out of the panel. Down - Zoom Out, Up - Zoom In.
- Hold the right mouse button (RMB) on an empty square or press the spacebar + left mouse button (LMB) to move the board in any direction.
- Left mouse button (LMB) click on a block to select the block and show additional options.
- Hold down CTRL:
- Left mouse button (LMB) click on blocks in a row to select multiple cards simultaneously.
- Left mouse button (LMB) click again on a selected block to deselect.
- Drag a rectangle around the blocks while holding down the left mouse button (LMB) to select multiple cards at once. Move the selected blocks by holding the LMB on any block.
- Click on the arrow connecting the blocks to select the connection. Press the "Delete" button to remove the connection.
- CTRL + C = copy one or more blocks/tasks.
- CTRL + V = paste copied blocks/tasks from the clipboard.
- CTRL + Z = undo the last change on the map.
- F2 - start editing text in the block.
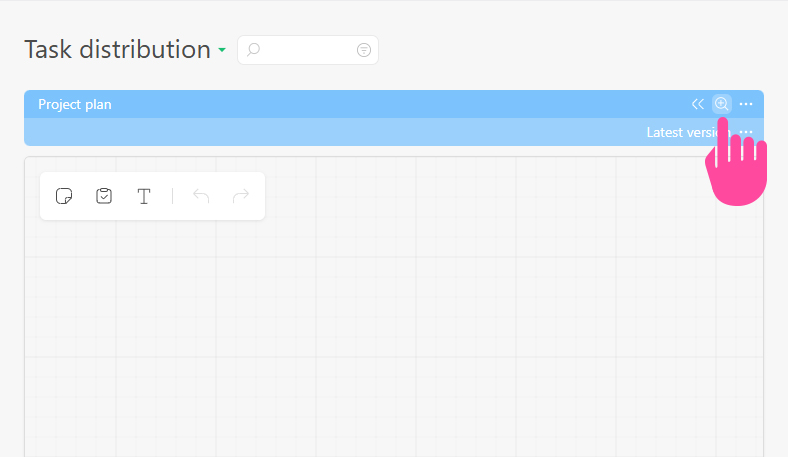
- Click on the hand lens = expand the diagram to full screen:
Important
Don't confuse the connections on the map with the dependencies between the tasks in the "Dependencies" panel, which affect the tasks' scheduled start or end dates.
