Instructions for connecting the Google Maps API
The Google Maps API is used to transform data containing addresses or location names from text to a data type designed for displaying objects on a map. This feature is used in the Planfix integration with maps.
To connect this integration, you will need to have a Google account (or you will need to create one).
Step 1. Connecting the Google Maps API
- Follow this link to start the connection.
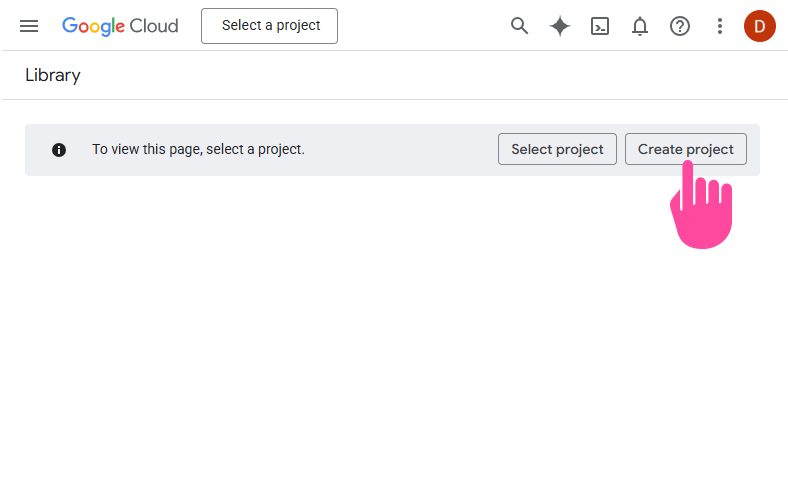
- Click Create project:
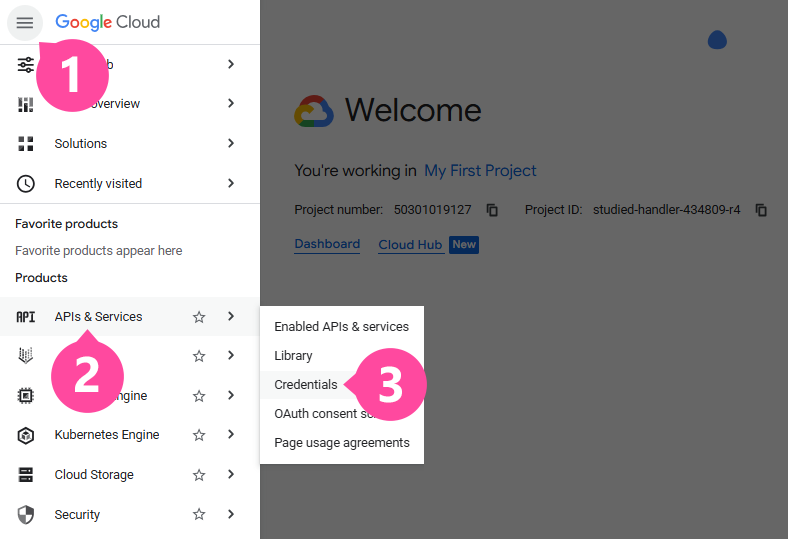
- In the main menu (which you can open by clicking the "hamburger" button in the upper left-hand corner) select API and services / Credentials:
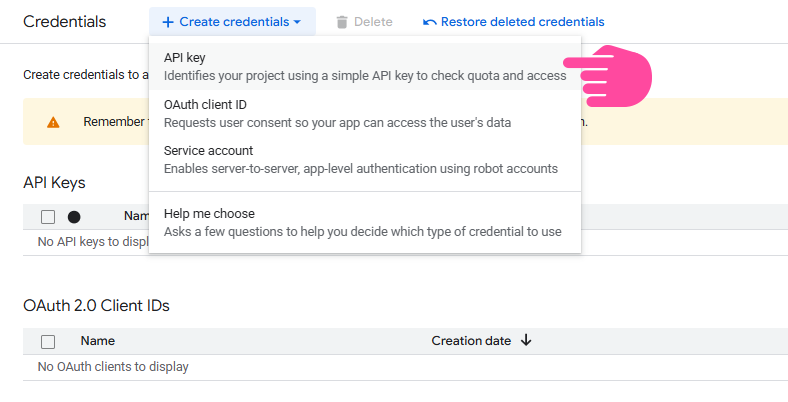
- Click Create credentials and select API key:
- Copy the API key. This key is required when connecting the Planfix maps integration.
Step 2. Setting up a payment account
To use the integration, you must connect a Google payment account to the project you created. If you don't have a payment account, you can create a new one by following the instructions below.
At the time this article was written, Google was offering new customers a $300 credit toward Google Cloud Platform products during their first year. All you need to do to get the bonus is create a new payment account and enter your credit card information. There will be no automatic payments made with your card; it's used to help Google verify that you're not a robot.
The payment account you created will be linked to the project you created earlier.
Step 3. Connecting libraries
To get the integration working correctly, you must connect the following APIs from the Google API library:
- Maps JavaScript API
- Geocoding API (for transforming addresses into coordinates)
- Geocoding API (for identifying location)
- Directions API (for building routes)
- Places API (for suggestions when entering an address into a field)
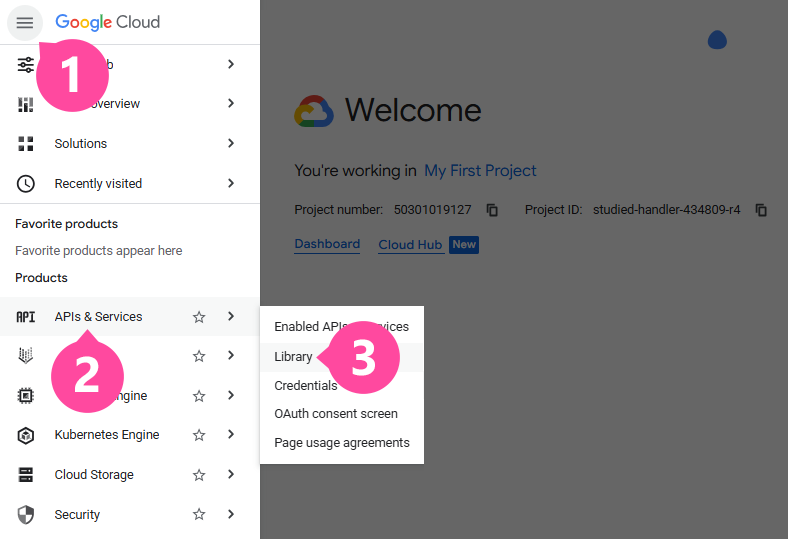
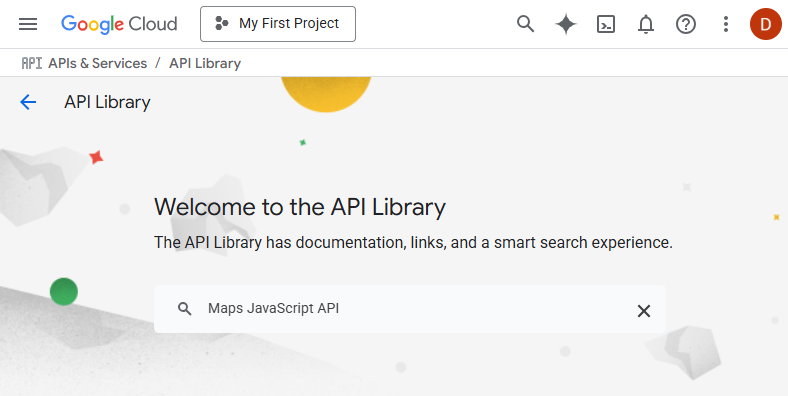
To connect them, go to the API and services / Library section of the main menu (the "hamburger"):
- Enter the name of the API you're looking for in the search bar (copy it from the list above):
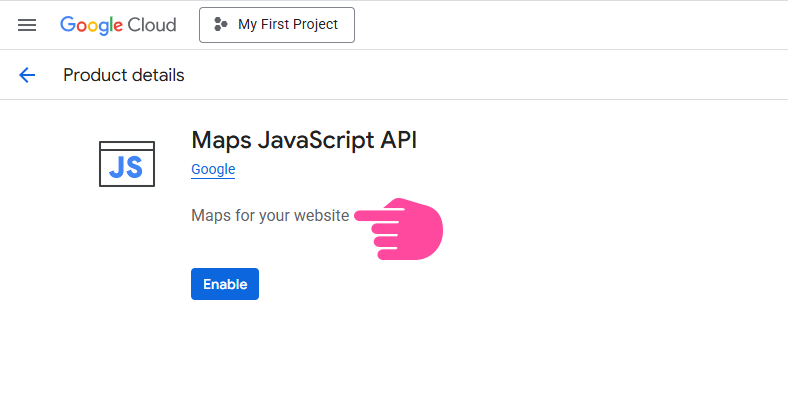
- Click the block for the API you want, and then click Enable:
- Repeat these steps for each of the APIs in the list above.
Once you've connected all of the required APIs, you can move on to enabling the integration with maps in the Planfix interface.
Note: If when you attempt to enter an address in a Location field you see a message with a red background saying you have reached the API limit, check that the payment account created in Step 2 is linked to the project created in Step 1.