Importing contacts
Importing allows you to upload and update Company and Contact data into Planfix from different sources.
How to import contacts
Begin importing contacts by clicking the Import button on the action panel in the Contacts section:
The window for importing contacts contains three blocks, which are described below.
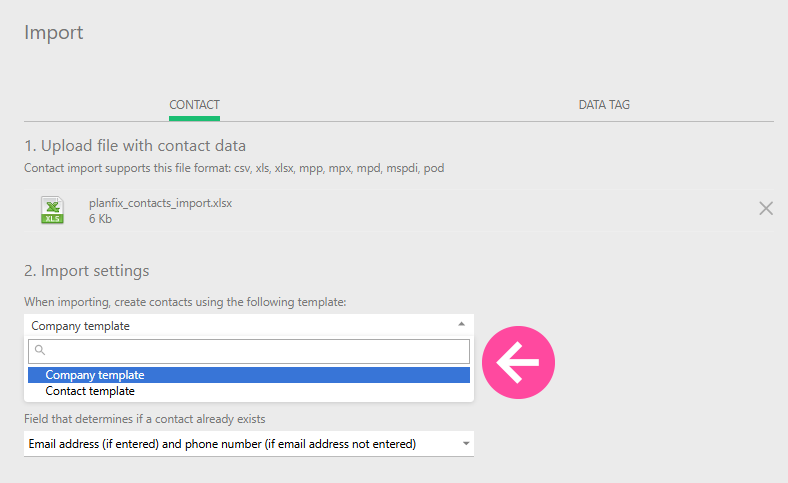
1. Upload file with contact data
- At this step, you must select an existing file that contains contact data. File types supported are CSV, XLS, and XLSX as well as Microsoft Project files:
- Tips for preparing CSV files for upload
- After you have uploaded a file, the following sections for configuring the import will open.
2. Import settings
At this step, you first need to choose what exactly will be imported: Contacts or Companies. This is determined by the template, which can be chosen from the list:
- Tips:
- when you are importing a Company and its Contacts, you first need to import the Company and then the Contacts, since the Company column in a Contact import needs to be populated with an existing company name;
- if a Contact has a Company indicated that doesn't exist in the system, this Company will be created automatically during import;
- trial accounts and accounts with Free plans have a limitation on the total number of contacts they can store in Planfix, and imports will take this limitation into consideration.
- Then, in the import settings, you must select one of the options for handling matching contacts already existing in the system:
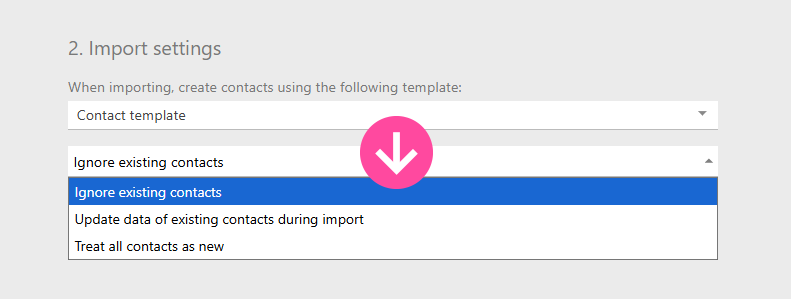
- Ignore existing contacts. When this is chosen, Planfix will check each contact in your file to see if a match exists in the current contact list to prevent duplication. If a match exists, the new contact will not be added.
- Update data of existing contacts during import. This is the preferred option since it checks each contact in your file to see if there's a match with an existing contact, and if there is, the system will try to supplement the match with the data from the import file.
- Treat all contacts as new. Choosing this option will have the system upload all contacts from your file without any additional checks. It's important to understand that when this option is chosen, the system will not check for existing contacts with the same email address, phone number, etc. Therefore, we recommend only using this option when you're certain that contacts with identical data do not exist in the system. For example, this could be when uploading your contact database to an empty Planfix account. Otherwise, selecting this option may lead to the creation of duplicate contacts, i.e., multiple contact cards with fully or partially overlapping information.
- When you choose the first or second option, you will also need to indicate a method that the system will use to determine a match between existing contacts and those being imported:
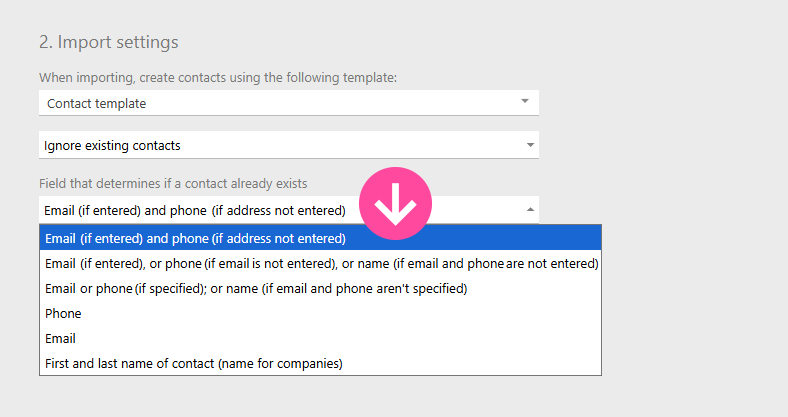
This list provides several options for checks using sets of fields, as well as any custom fields that may contain a "key" that identifies the uniqueness of a contact.
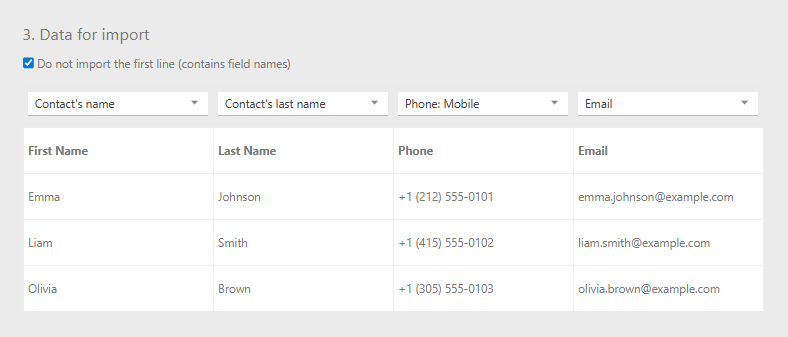
3. Data for import
This block displays a few lines from your import file. You need to map the columns to the contact fields:
In addition
- The fields you will map to come from the Contact or Company template you choose;
- You must select the file column that contains the contact/company name;
- If the value in the first row of a column matches the name of a contact field in Planfix, the column and field will be matched automatically. With this in mind, you can automate matching by creating your import files according to the template fields
After you have mapped the columns in the file to the fields in the contact template, you must click the Start import button. A window will appear during import that shows the number of contacts imported.
Important
- To import multiple email addresses, map each of them to the E-mail field in Planfix. The first email in the list will be written as the primary address, the rest — as additional addresses.
- When importing a Date and time field, data must be entered in the format dd-mm-yyyy mm:hh.
- A period (".") or slash ("/") can be used in place of the dash ("-").
- Single-digit day numbers and two-digit years are not supported at this time.
- When importing from Microsoft Project into Planfix, only links and dates are transferred.