Installing custom solutions: Difference between revisions
From Planfix
No edit summary |
No edit summary |
||
| Line 8: | Line 8: | ||
*Generate a [[Creating custom solutions |public link for your solution]]: | *Generate a [[Creating custom solutions |public link for your solution]]: | ||
https://s.pfx.so/pf/ | |||
https://s.pfx.so/pf/1x/KkAWbK.png | |||
*Log in to the account where you'd like to install the solution. | *Log in to the account where you'd like to install the solution. | ||
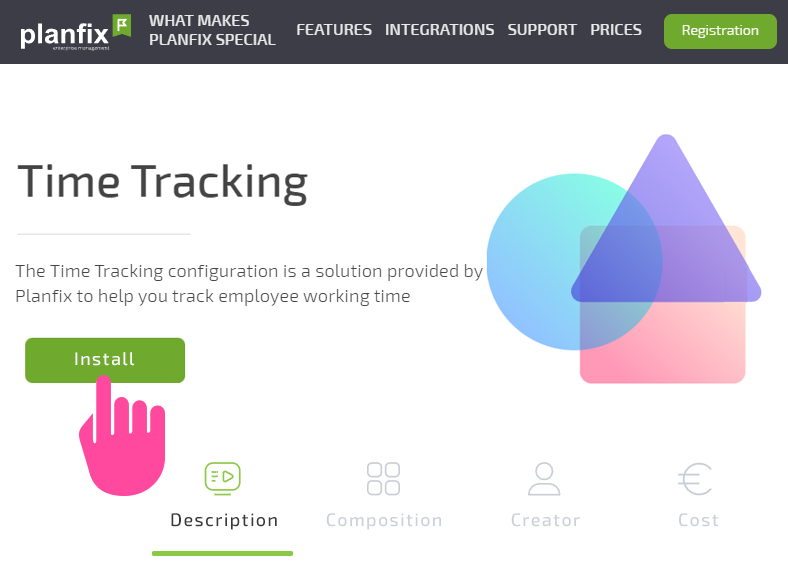
*Open the public link in your browser and click the '''Install''' button: | *Open the public link in your browser and click the '''Install''' button: | ||
https://s.pfx.so/pf/ | |||
https://s.pfx.so/pf/Mv/y4lp51.png | |||
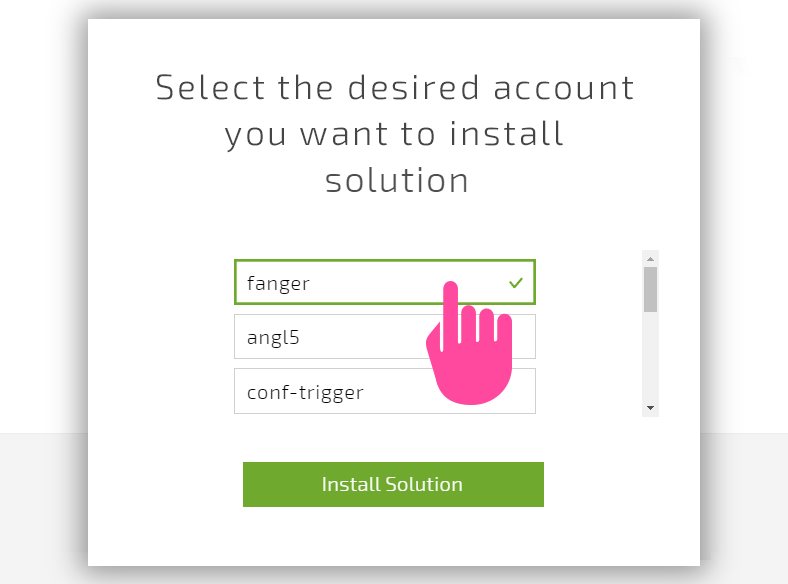
*Select the desired account and click the '''Install solution''' button: | *Select the desired account and click the '''Install solution''' button: | ||
https://s.pfx.so/pf/ | |||
https://s.pfx.so/pf/JD/QutiX2.png | |||
Latest revision as of 12:01, 21 April 2023
Custom solutions are solutions that Planfix users create. You can install one in your account as follows:
- Generate a public link for your solution:

- Log in to the account where you'd like to install the solution.
- Open the public link in your browser and click the Install button:
- Select the desired account and click the Install solution button:
- Check that the solution was installed.
- When it's installed, you'll see it in the section for installed solutions.