Custom contact fields: Difference between revisions
No edit summary |
No edit summary |
||
| Line 2: | Line 2: | ||
https://pic.planfix.ru/pf/Oy/y2RC9l.png | |||
https://pic.planfix.ru/pf/qI/MQByhz.png | |||
| Line 8: | Line 11: | ||
https://pic.planfix.ru/pf/Of/0QRBR2.png | |||
| Line 14: | Line 17: | ||
https://pic.planfix.ru/pf/p3/O2OCOx.png | |||
| Line 20: | Line 23: | ||
https://pic.planfix.ru/pf/YX/jelbvY.png | |||
| Line 26: | Line 29: | ||
https://pic.planfix.ru/pf/Vg/fDFk1b.gif | |||
Revision as of 00:45, 22 May 2020
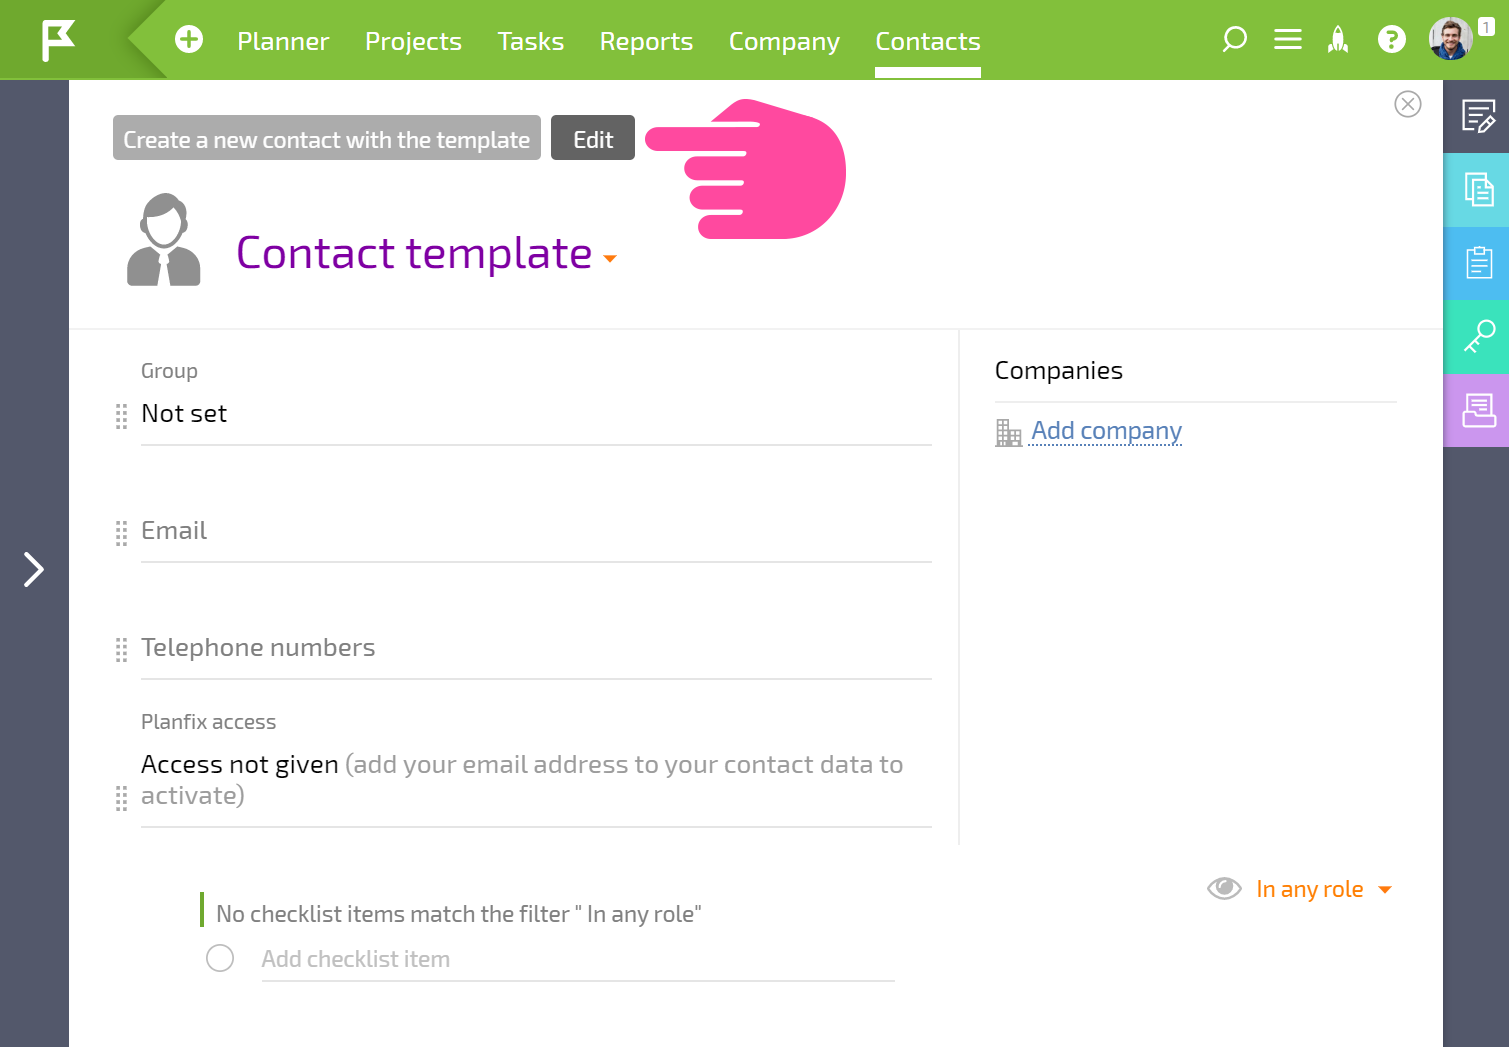
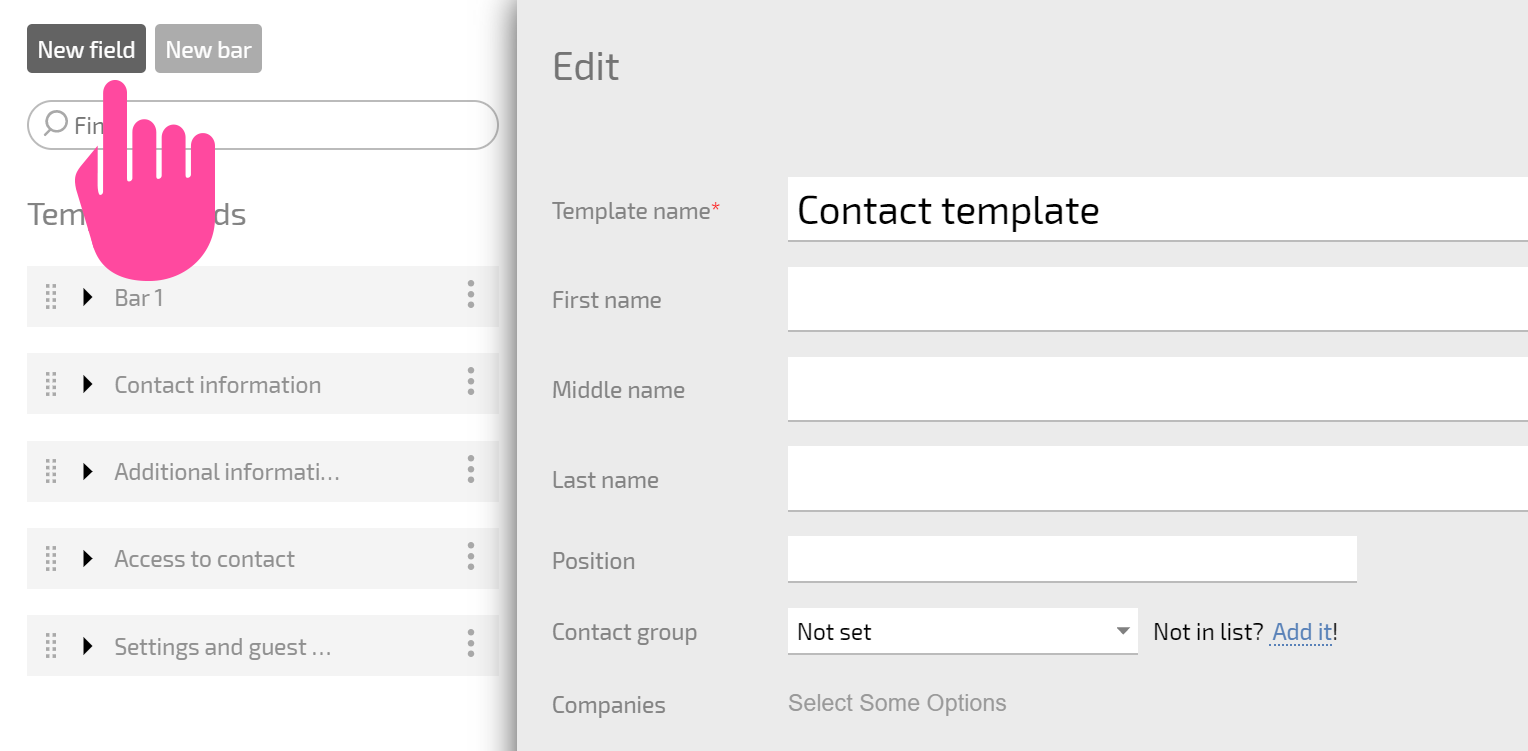
You can create custom fields in contact template editing mode:
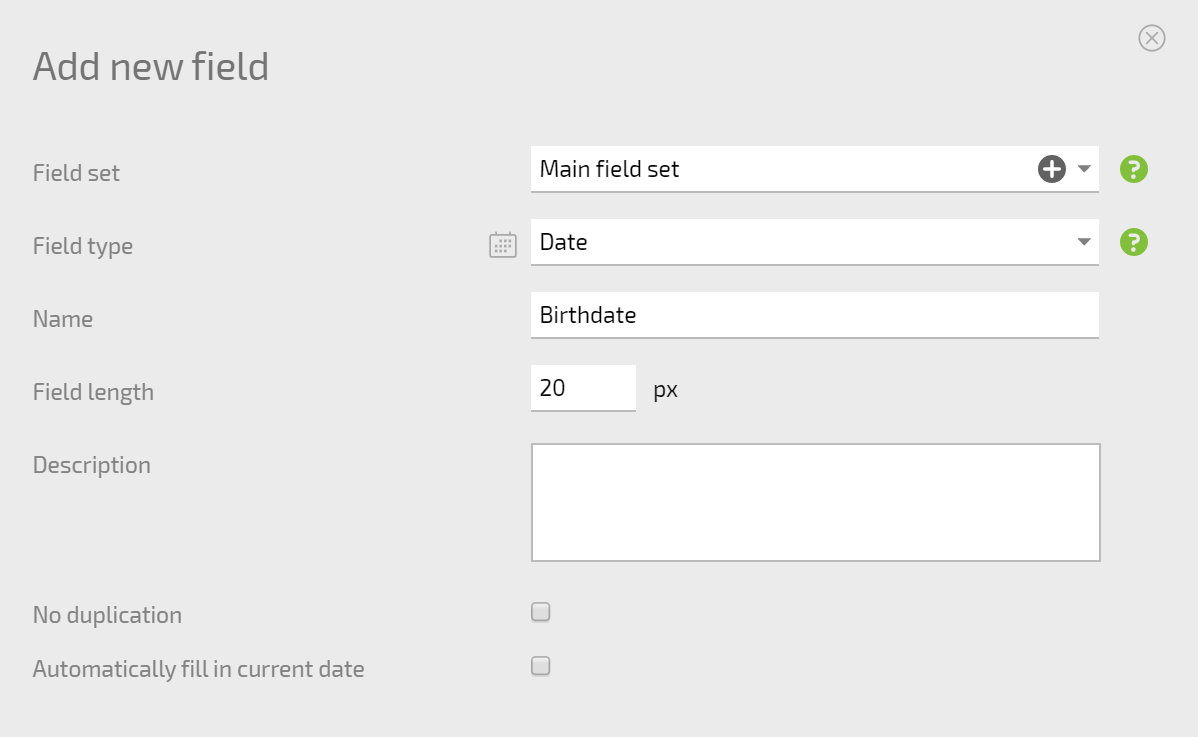
In the form that opens for adding a new custom field, select the field type, enter a name, and configure additional parameters depending on the field type:
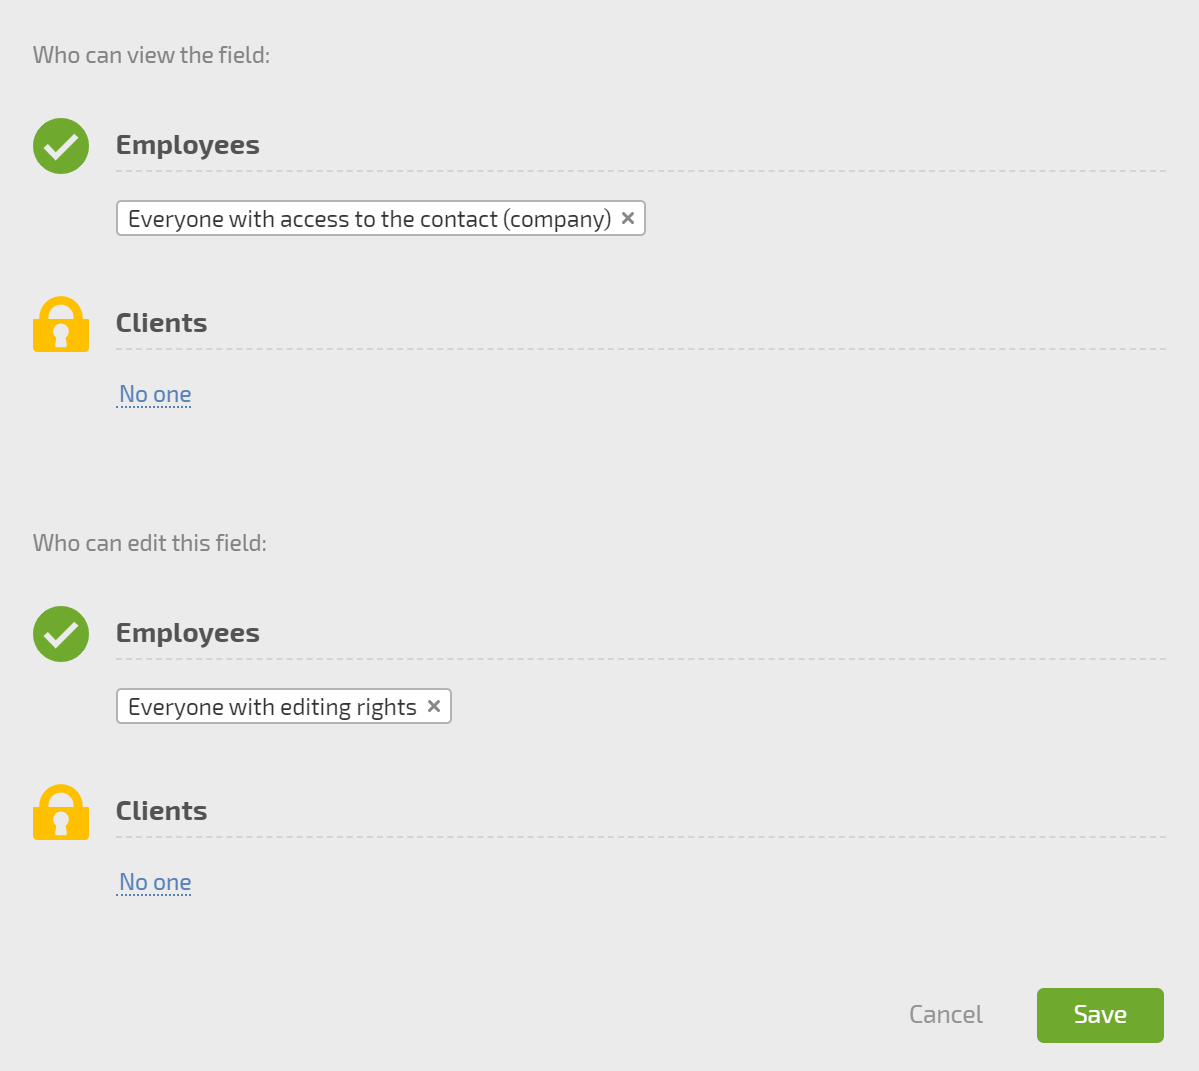
You can also set access to this field for employees or clients:
The field you create will appear in the Main field set section that can be found at the bottom of the list of panels and fields. You can add it to one of the panels in the contact form by clicking its name in the list:
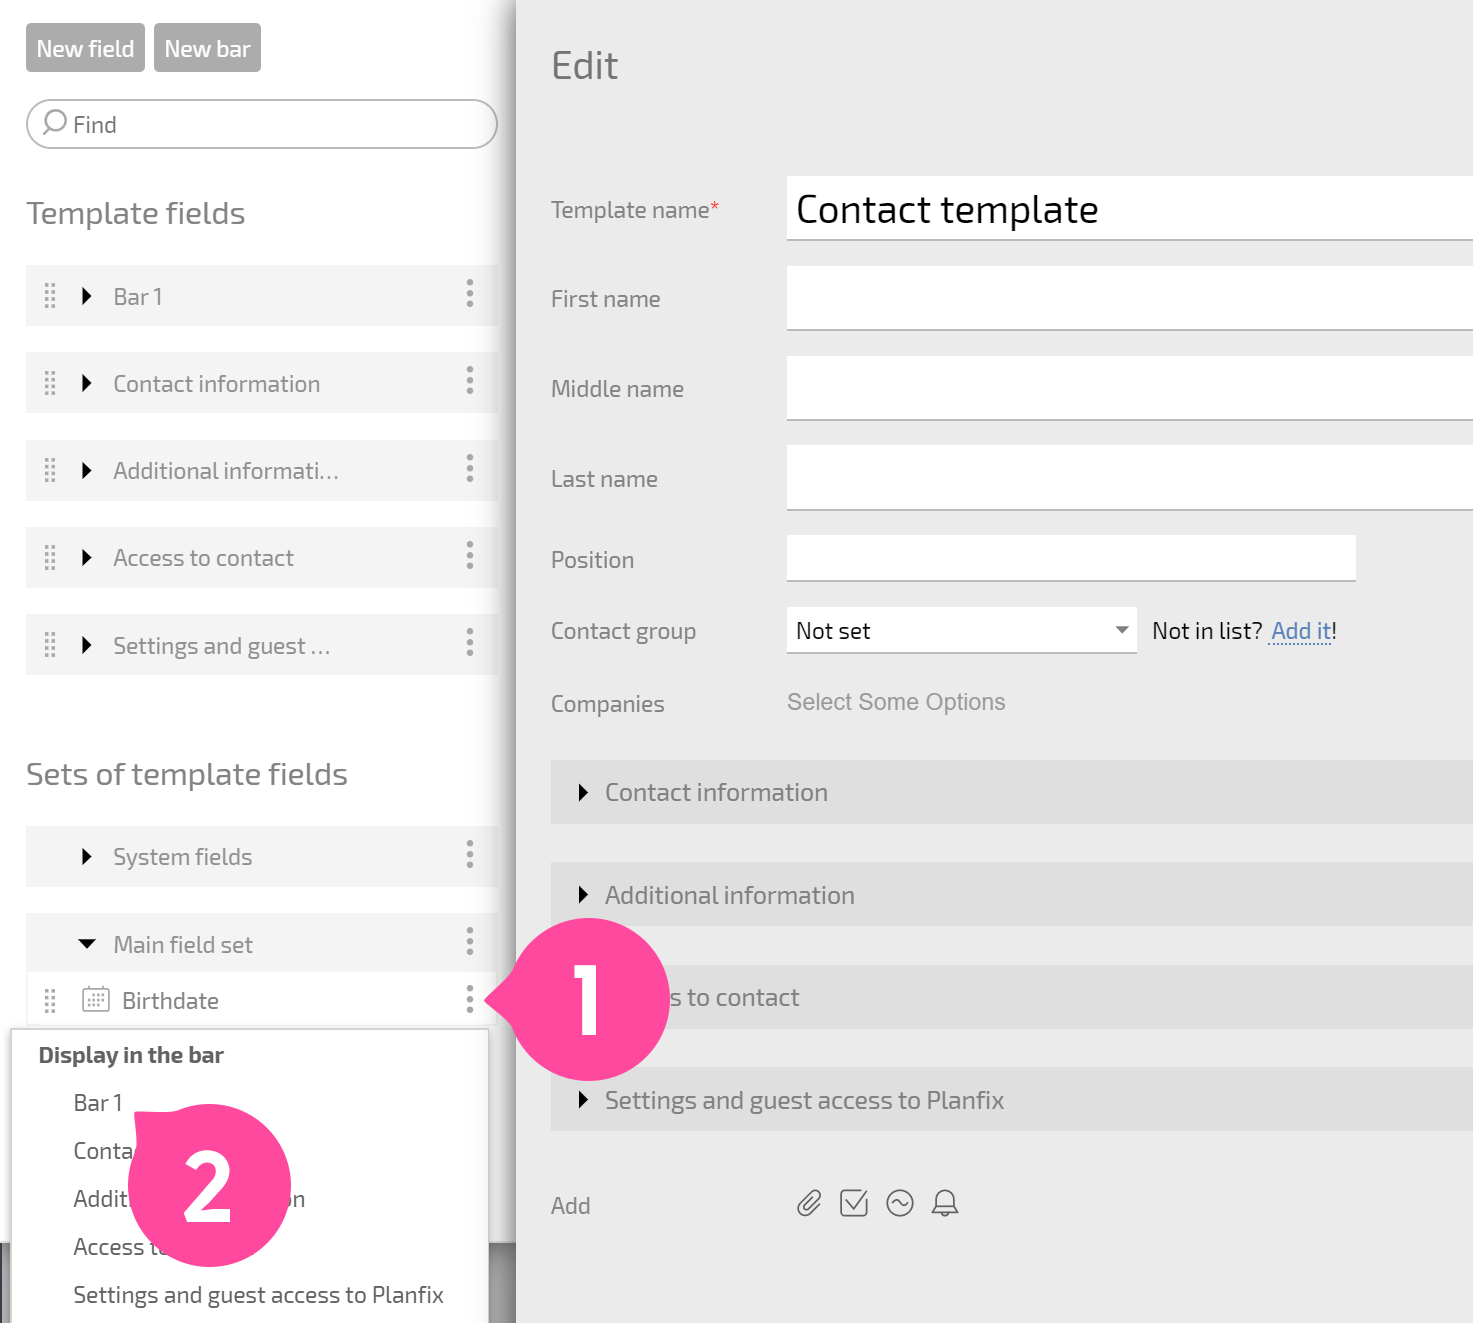
Or by dragging and dropping:
Please note:
If the field was created at an earlier point, it will be in the list of fields that can be found on the left-hand side of the form. You don't need to create the field again: you can create a field once and use it multiple times, in any contact template where it's relevant.