How to attach files to a task?
From Planfix
You can attach files to Planfix tasks that are stored locally, or you can attach links to online documents. If you attach a local file, it will be uploaded to the Planfix server. There are several ways to attach files.
The quick method
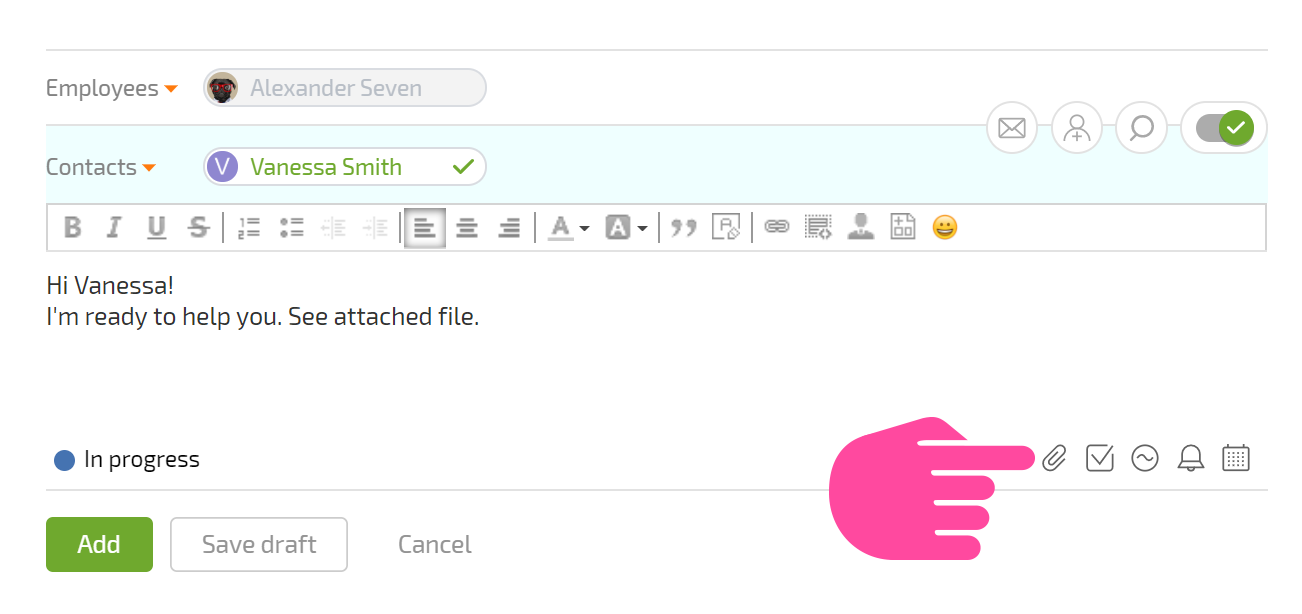
The simplest and quickest method to add a file to a task is to click the paper clip icon in the Add comment block:

Attaching a file with a comment
To attach a file while adding a comment:
- Go to the desired task;
- Create a new comment;
- Write the comment you would like in the Comment field (not required);
- Click the Paper clip icon to add a file:
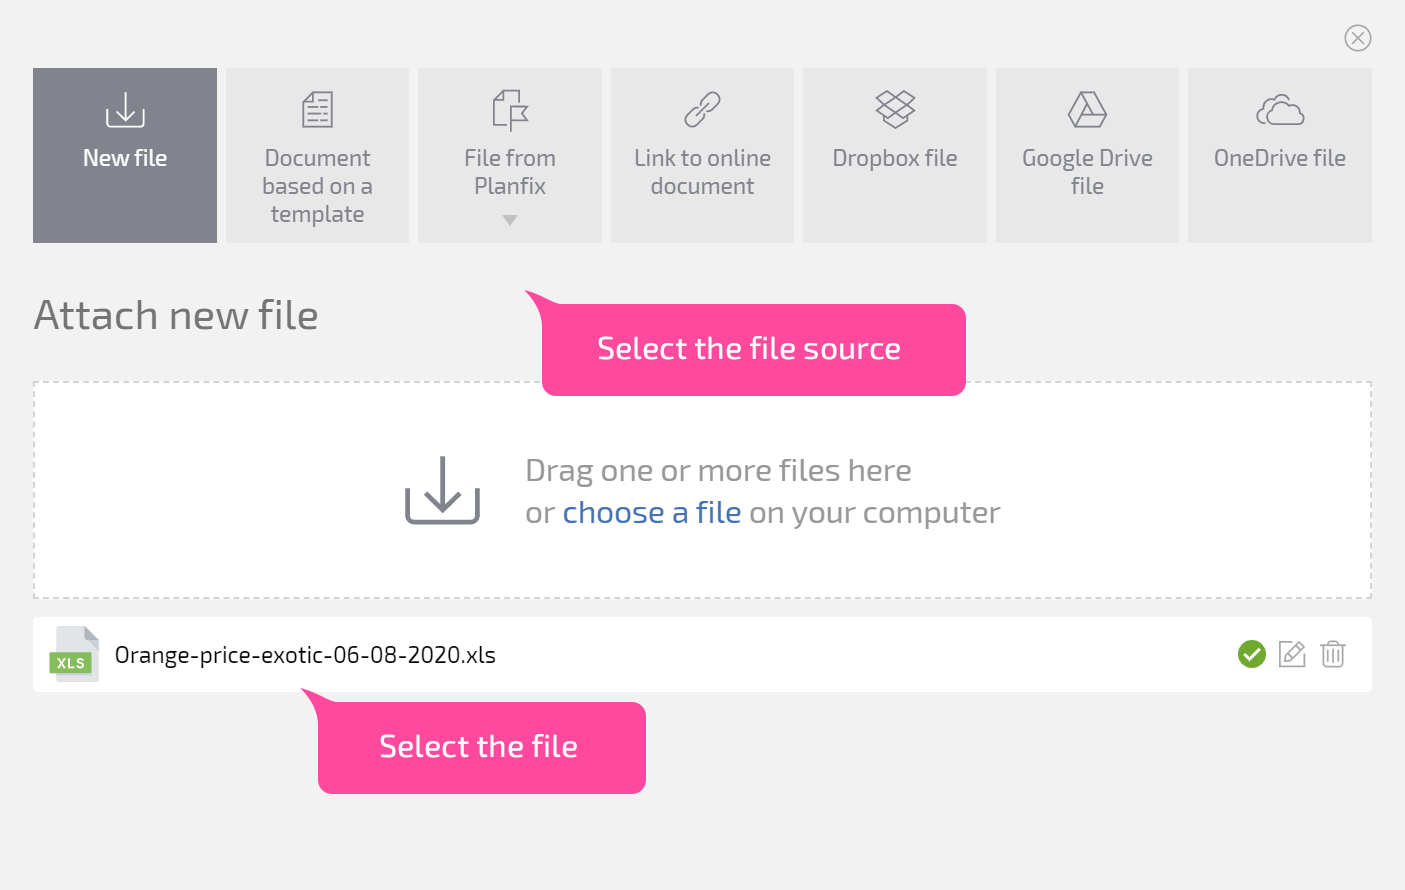
- In the window that opens, select the file source, and then select the file or paste a link:
- Add the list of users who should be notified about the file (if needed).
- Save the comment.
Adding a file by dragging and dropping
To attach a file while adding a comment:
- Drag a file from a folder on your computer:
- To drag and drop a file from another Planfix tab:
- if it's in a task open in another section, you need to find the file in the task's "Documents" panel and drag it to the desired task.
- drag and drop the file into the task from the Documents section.
- Dragging and dropping a link. Please note: links dragged into a task are attached to the comment as an External link file.
Additional information
- File upload begins immediately after a file has been added before you save your comment.
- If a file can't be loaded for some reason, you can try to load it again without affecting any other files already loaded.
- Planfix supports file versioning. When attempting to upload a file with a name that already exists in the project, Planfix will prompt the user to either save a new version, rename the file, or attach the existing file that was loaded earlier: