Configuring rules for transitioning between statuses
From Planfix
The rules for transitioning between statuses are configured for each status set in the Account management / Task processes tab
Adding a status to a set
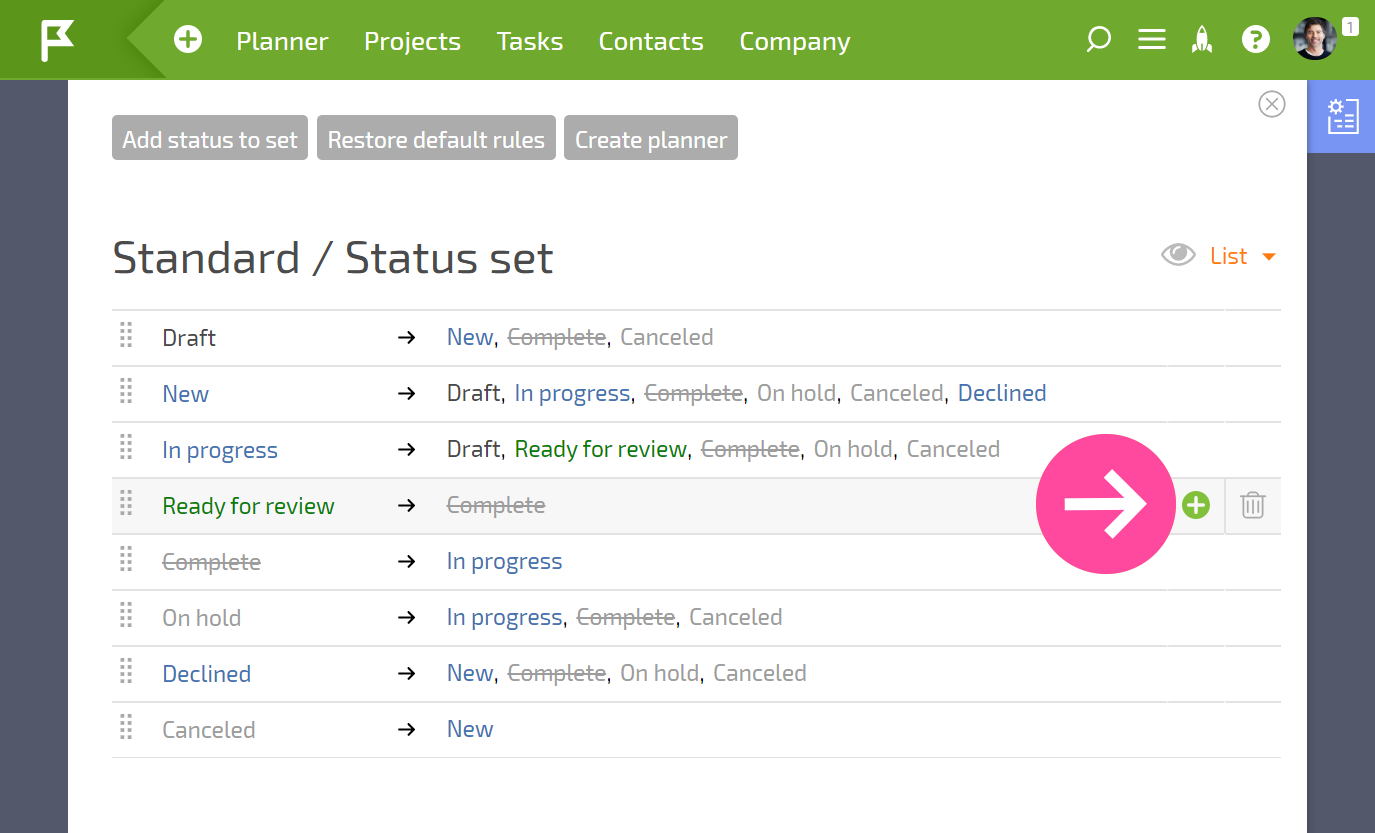
To add a transition to a new status, click on the plus sign in the row with the desired status:
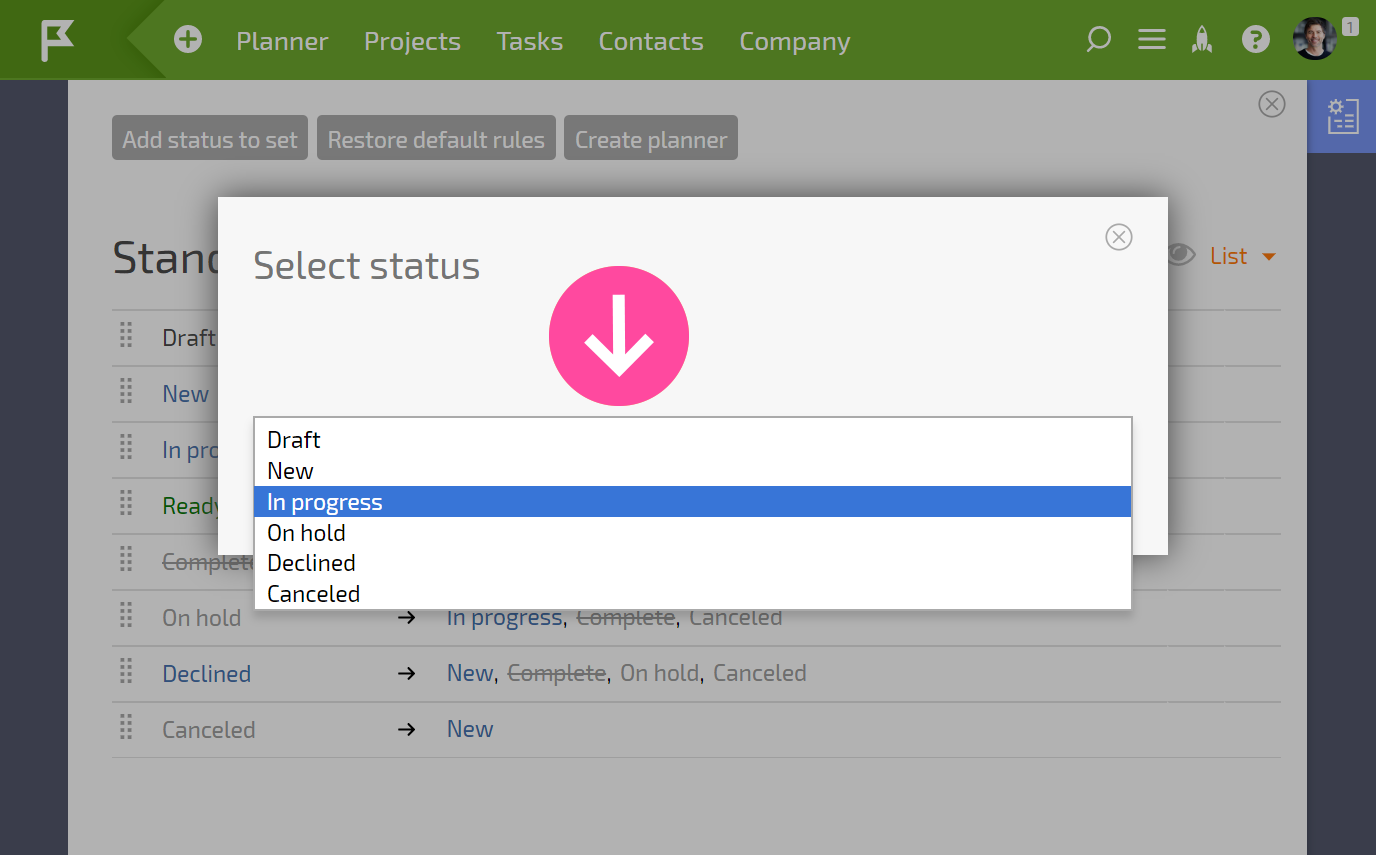
A window will open where you can select the status to transition to.
Clicking the added status will open a menu with additional settings:
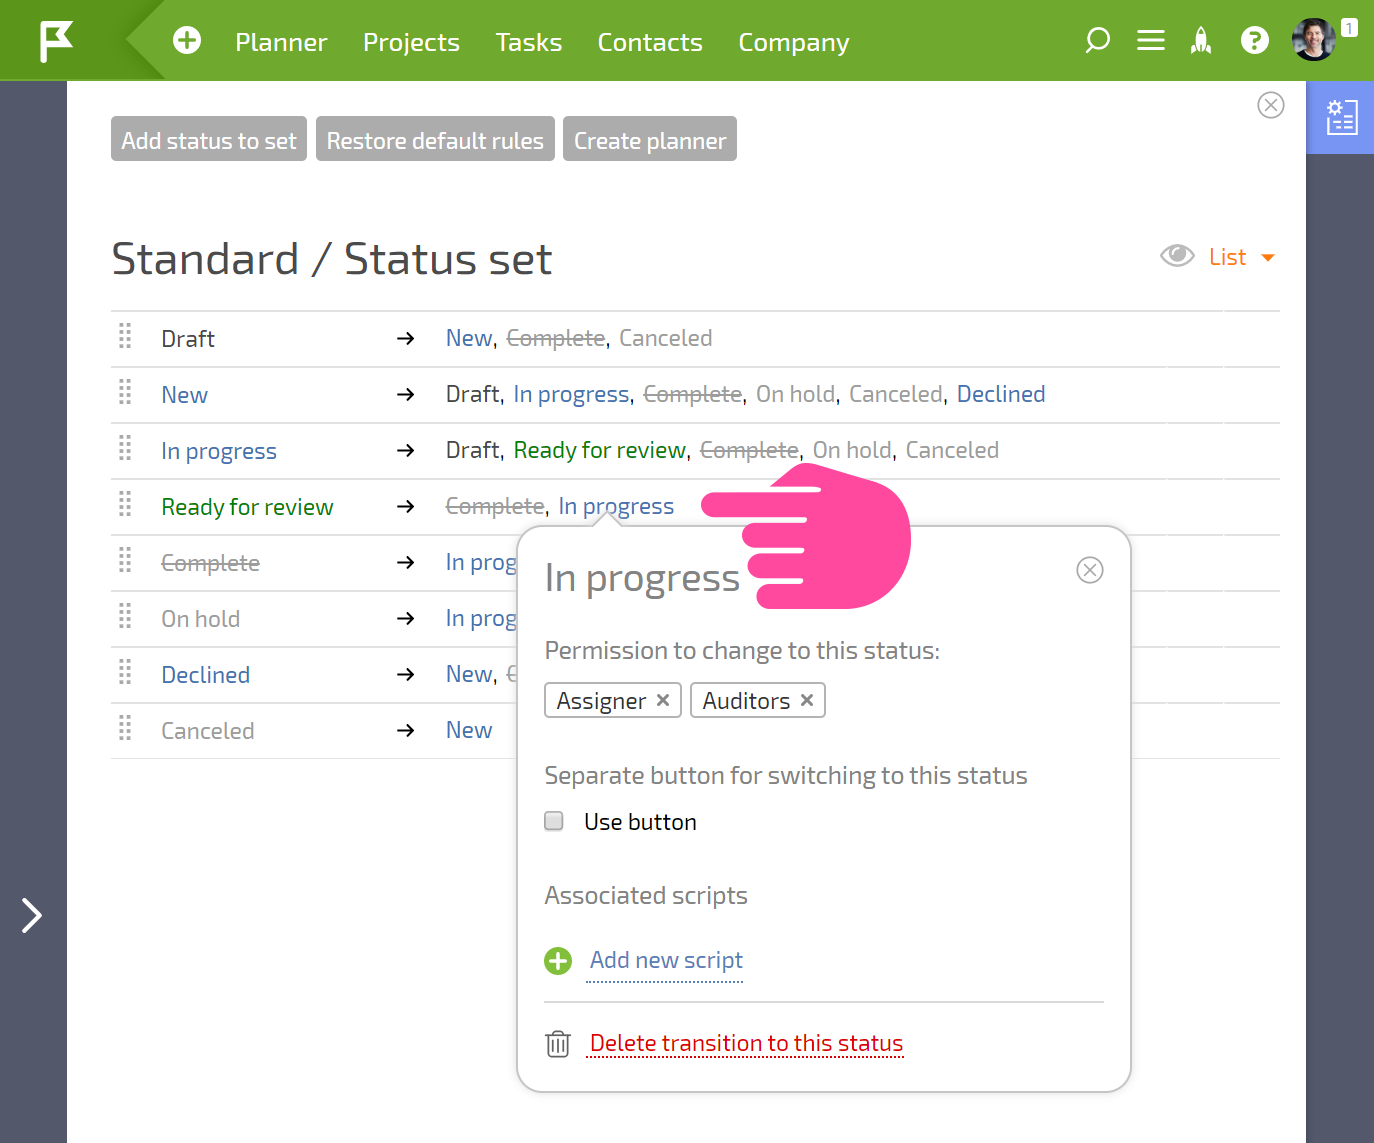
In this menu, you can:
- define who will be able to switch to this status
- add a separate button for the status (buttons are configured for each status transition)
- add scripts
- delete the transition to the status
Deleting a status from a set
To delete a status from a set, first go to the status set. Then hover your cursor over the line with the desired status, and click the trash can icon:
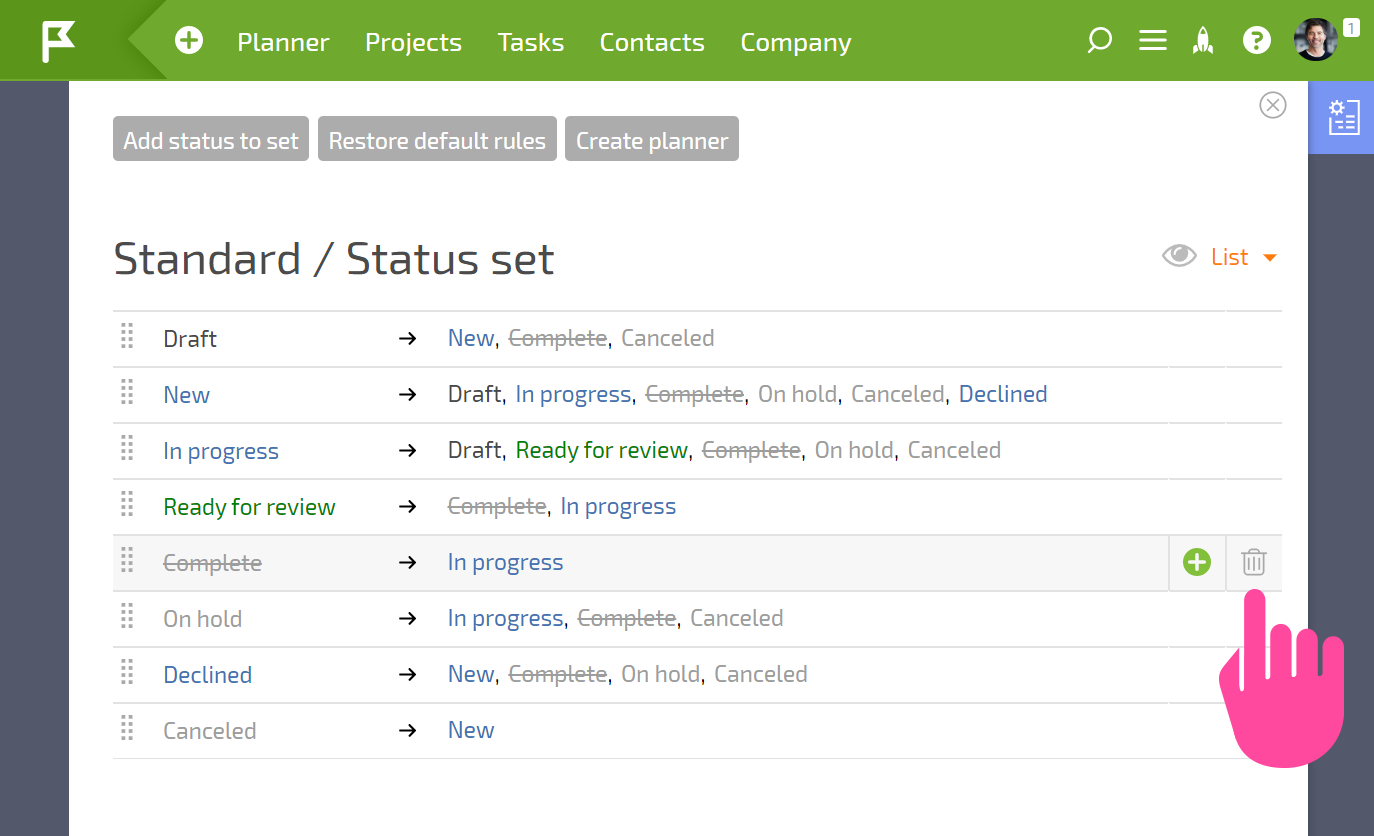
The status will be deleted from the set, but it will remain in the system.
Advice for configuring
- When configuring rules for transitioning, don't forget about having an "emergency stop" for a task. Most of the time, a task can be canceled or completed at any time, which means you should note the corresponding transitions:
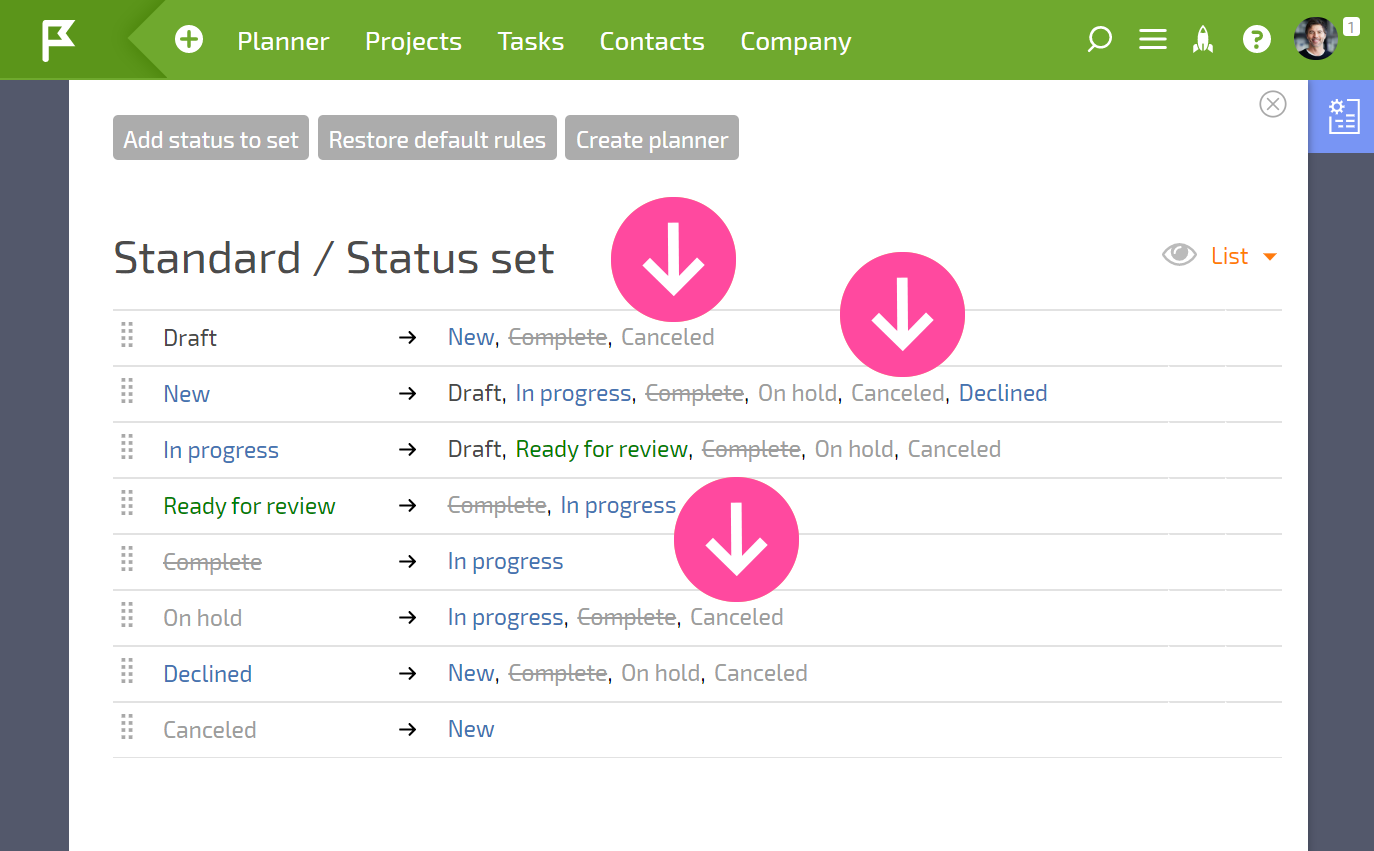
- You also need to remember that in many cases, a task can be returned to its previous step. Spend some time thinking of all the possibilities in a task's lifecycle, and establish all possible status transition options.
- Additional settings for status sets help you organize the behavior you would like to see in the process of working on a task.
