Object buttons: Difference between revisions
From Planfix
No edit summary |
No edit summary |
||
| Line 7: | Line 7: | ||
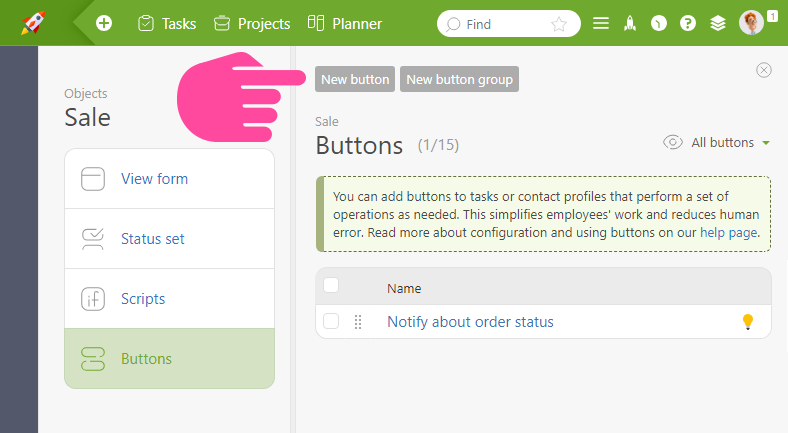
Planfix allows you to add additional buttons to [[Objects]] to perform various operations. They are configured under "Account management" — "Objects" — the necessary object — "Buttons": | Planfix allows you to add additional buttons to [[Objects]] to perform various operations. They are configured under "Account management" — "Objects" — the necessary object — "Buttons": | ||
https://s.pfx.so/pf/P2/xN4G5c.png | |||
Latest revision as of 13:13, 24 October 2023
Planfix allows you to add additional buttons to Objects to perform various operations. They are configured under "Account management" — "Objects" — the necessary object — "Buttons":

Adding a Button
When adding a button to an object, specify:
- In which other objects should it work (this is a convenient way to add a button to multiple objects simultaneously, if necessary).
- A set of conditions under which the button should appear.
- Who can click the button. Even if the conditions are met, the button is only visible to the users specified in this field.
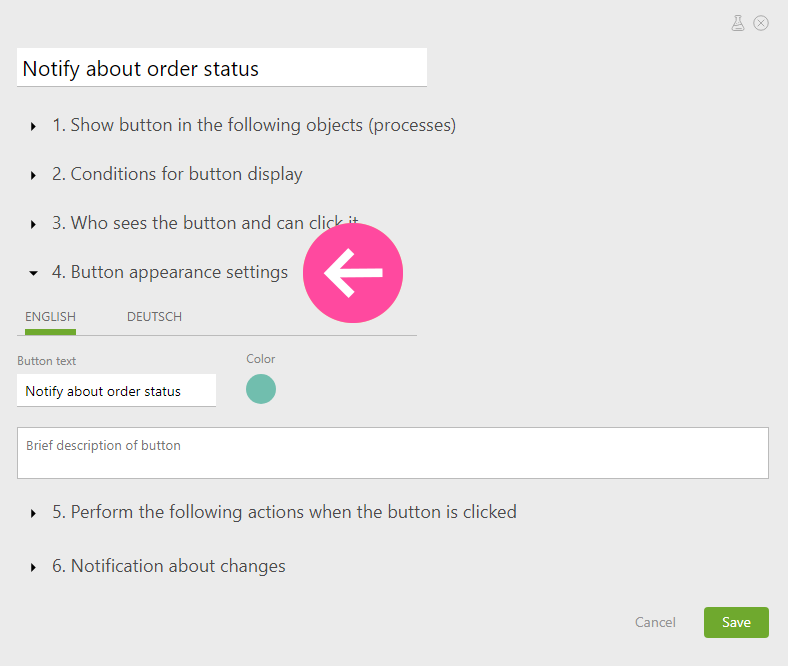
- The appearance of the button.
- A set of operations that are performed when the button is clicked.
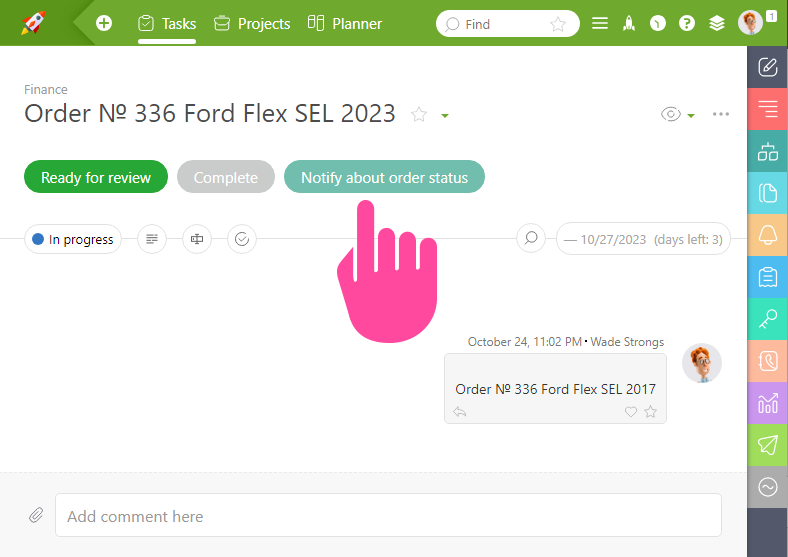
Displaying the Button in the Task Card
This is how the button is displayed in the task created from the object:

Adding a button based on a script
There is a quick way to create a button based on an existing object script. To do this:
- Select the necessary script
- Click on "Copy as button" in the "Operations" menu
- Data from the selected script will already be added to the button creation interface
- You will need to select the users who can click on the button and configure its appearance:

