Settings for displaying cards in a planner
In most types of Planner lists, you can configure how task or contact cards are displayed. These settings let you display only the necessary data from tasks or contacts, and they let you control the list of operations that can be carried out on these objects.
Settings for displaying cards
In a card, you can display both standard and custom task/contact fields:
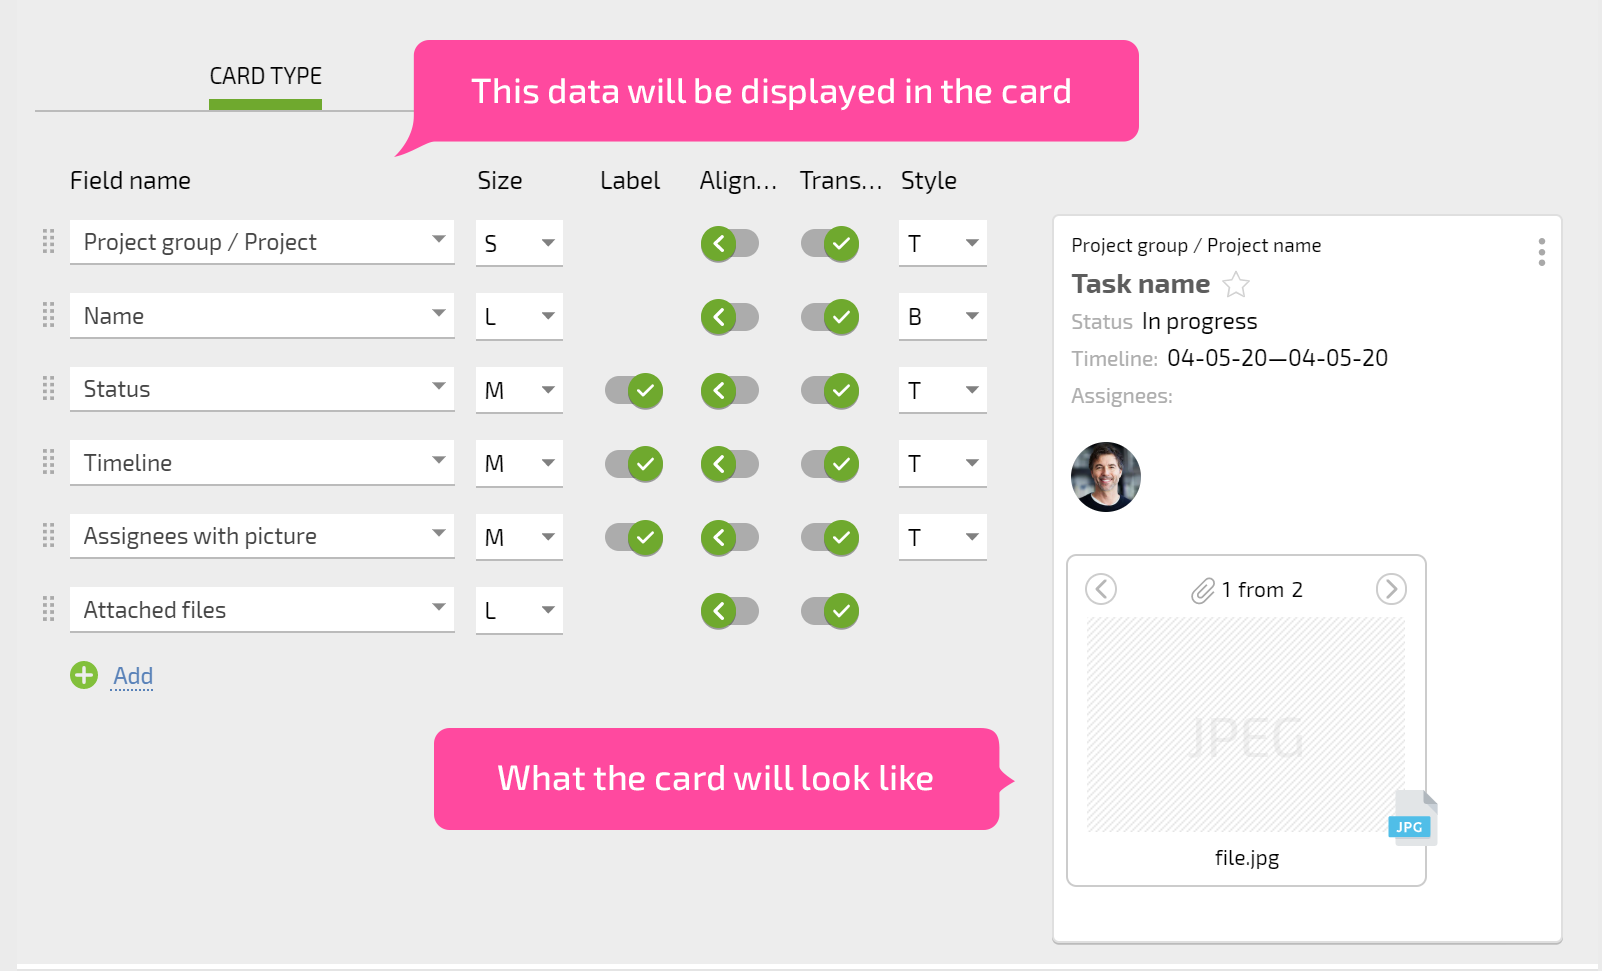
In addition to fields, you can also display files that are attached to a task in its card:
You can view a file from a Planner card the same way you can when you're in the full task — just click the file. When you close the file view window, you return to the Planner.
Please note
Only files that are attached directly to the task (i.e. are displayed in its description) will be displayed here.
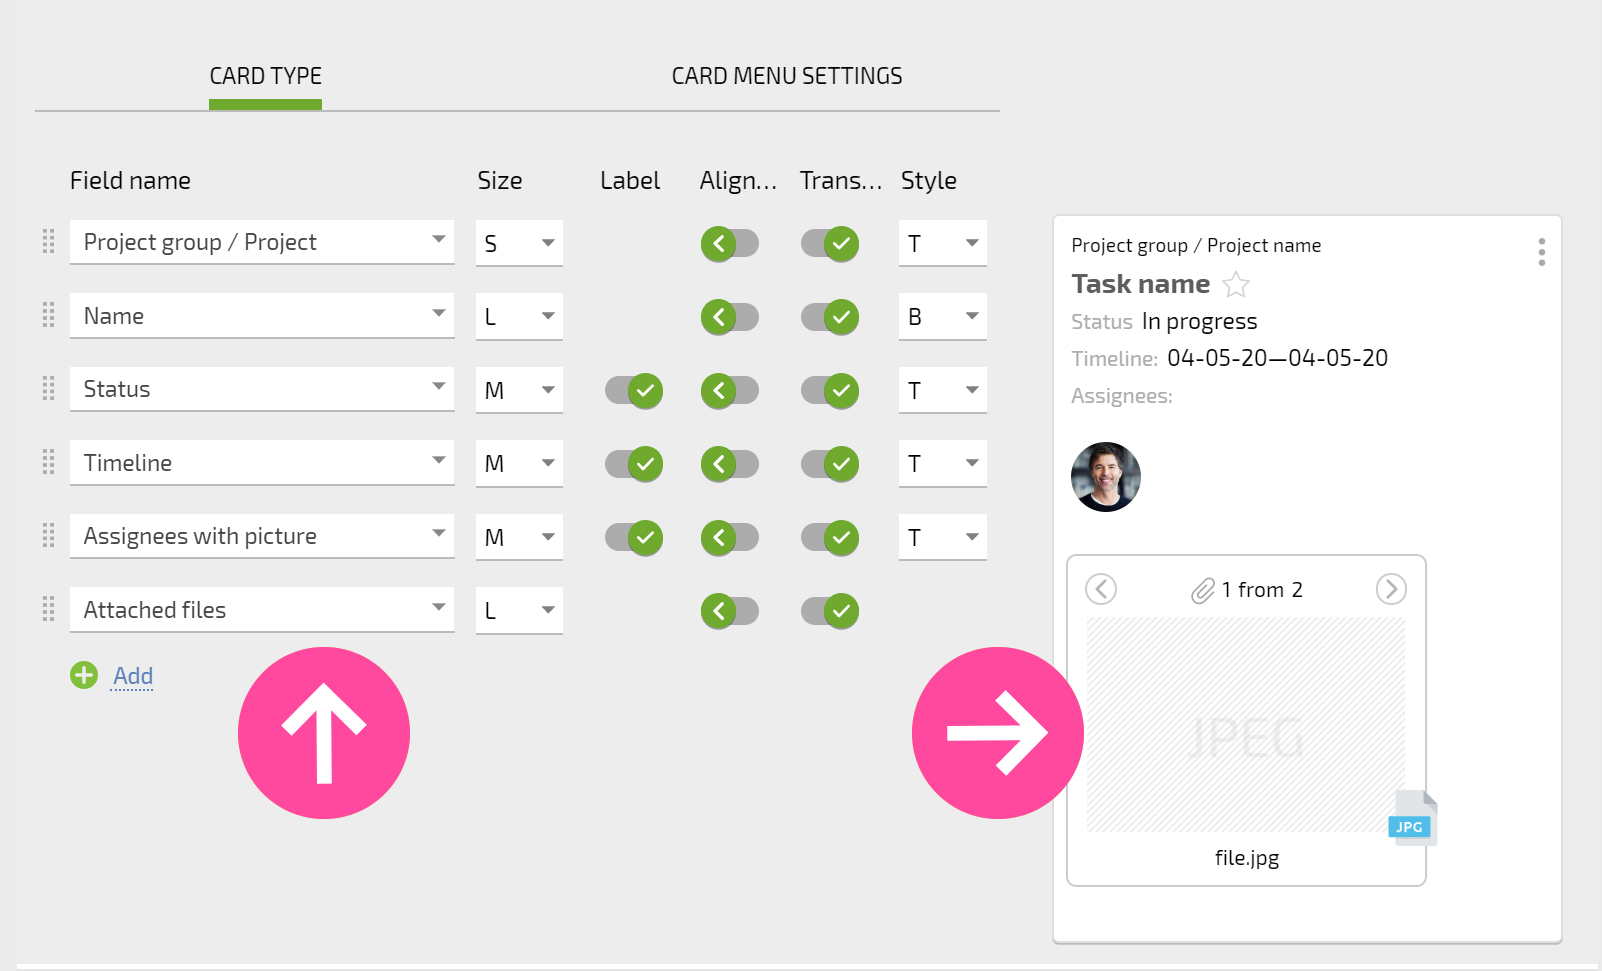
You can control how the fields will look that are displayed in a card by choosing a font and text size and placing each field where you would like it in the card:
In addition to the appearance of a card, you can also adjust settings for the menu of operations users can use on the card. The menu can be displayed in two ways:
- as icons at the bottom of the card:
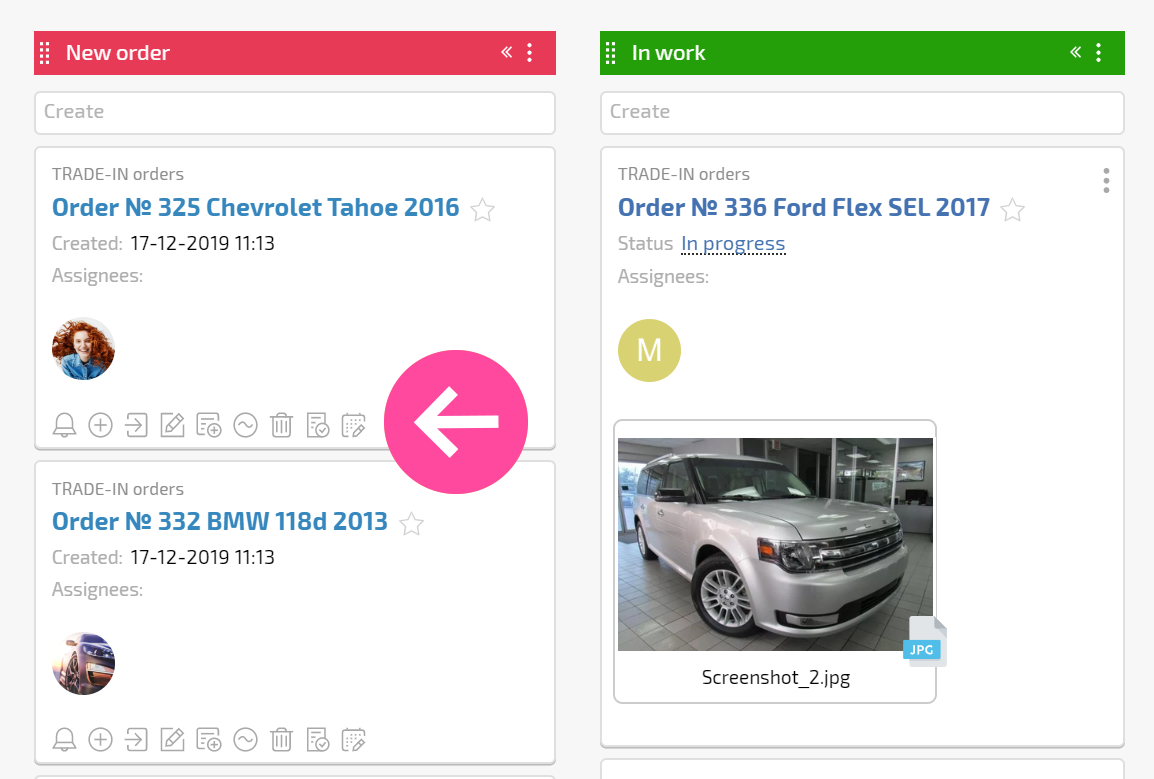
as a drop-down menu available by clicking the three dots in the upper right-hand corner of the card:

Configuring the list of operations and how the menu of operations is displayed can be done in the corresponding panel in the list settings:
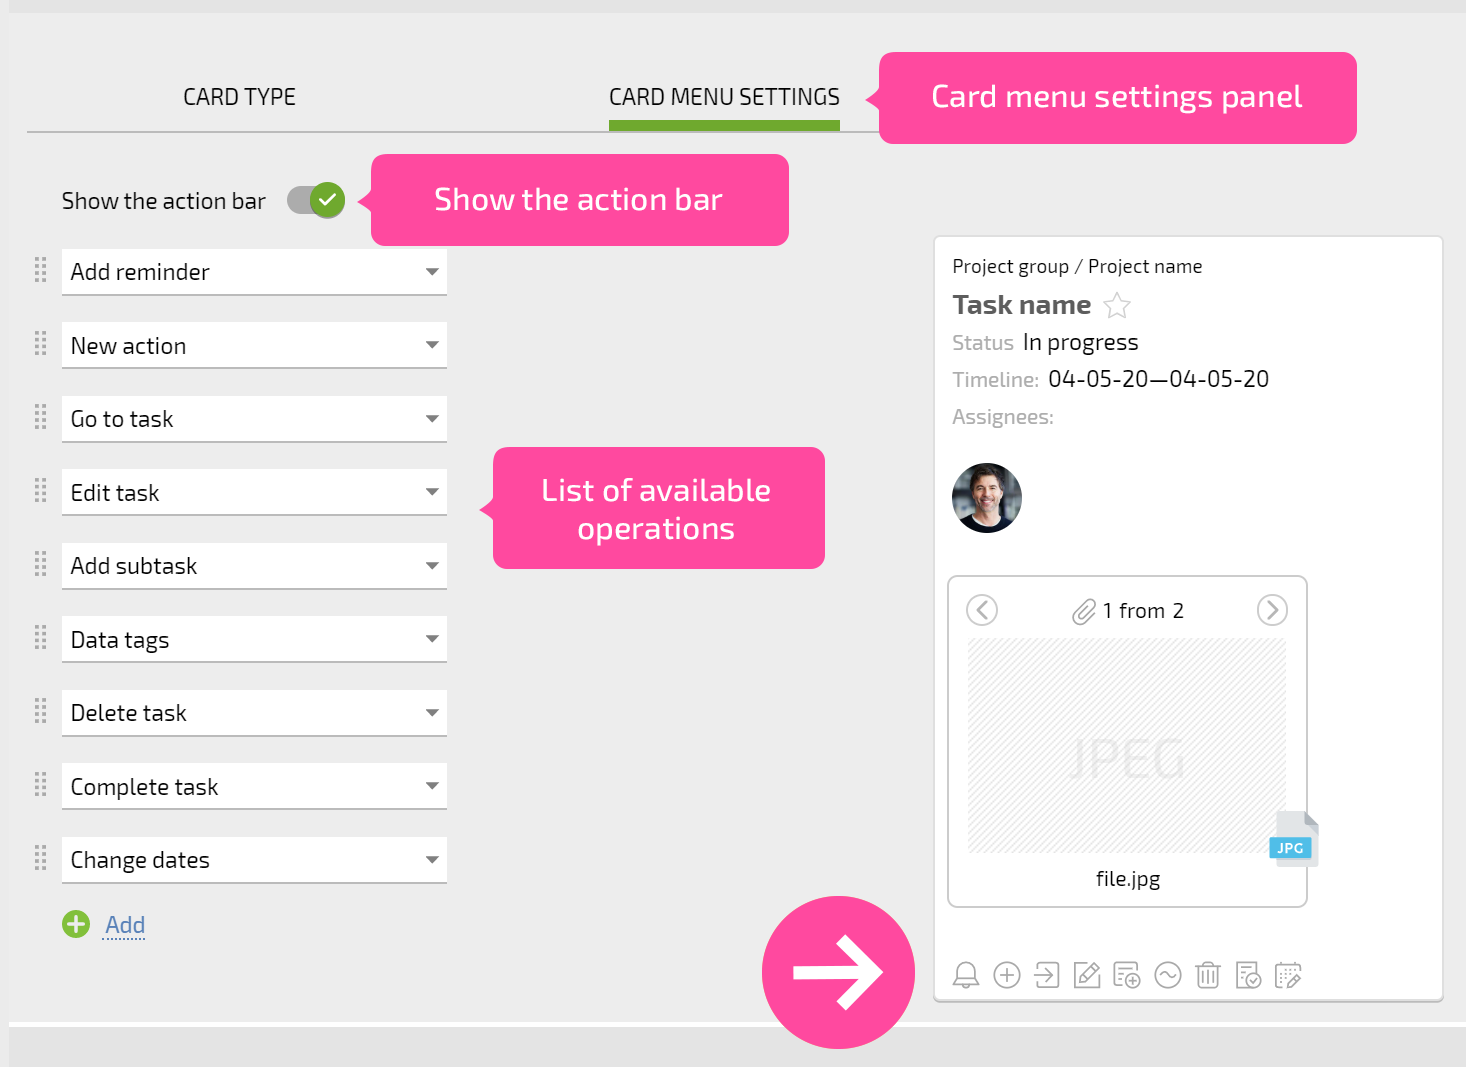
If the operations panel is disabled, the menu of operations will be displayed by clicking on the three dots in the upper right-hand corner of the card.